PyScript
前回、PyScriptの始め方とHTML上に文字を出力する方法を紹介しました。
今回はPyScriptでボタンのクリック時の処理をしたり、入力欄、プルダウンメニュー、ラジオボタン、チェックボックスの情報の取得方法を解説します。
それでは始めていきましょう。
ボタンのクリック時の処理
まずはボタンのクリック時の処理です。
ボタンのクリックを検出し処理を行うにはbuttonタグに「py-clicked=”関数名”」を追加します。
そしてその関数をpy-scriptタグ内に記述します。
<!DOCTYPE html>
<html lang="ja">
<head>
<meta charset="UTF-8">
<link rel="stylesheet" href="https://pyscript.net/latest/pyscript.css" />
<script defer src="https://pyscript.net/latest/pyscript.js"></script>
</head>
<body>
    <button py-click="clicked()" id="button">Button</button>
    <div id="text"></div>
<py-script>

    def clicked():
        Element("text").write("Clicked!")

</py-script>
</body>
</html>
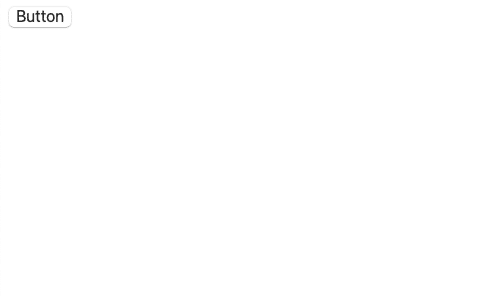
ボタンを押す前。
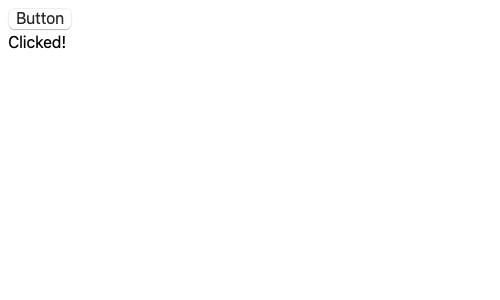
ボタンを押した後。
入力欄
入力欄から情報を取得する方法は2種類あります。
一つ目は「Element(“id”).element.value」です。
<!DOCTYPE html>
<html lang="ja">
<head>
<meta charset="UTF-8">
<link rel="stylesheet" href="https://pyscript.net/latest/pyscript.css" />
<script defer src="https://pyscript.net/latest/pyscript.js"></script>
</head>
<body>
    <Input type="Input" id="test1" value="test">
    <button py-click="clicked()" id="button">Button</button>
    <div id="text"></div>
<py-script>

    def clicked():
        text = Element("test1").element.value
        Element("text").write(text)
</py-script>
</body>
</html>
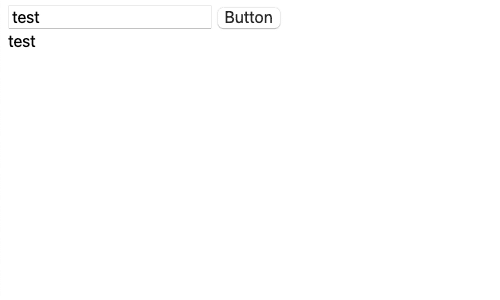
ボタンをクリックすると入力欄に書かれた文字がテキストとして表示されます。
もう一つの方法はPyScript内のJavaScriptのライブラリを使って「js.document.getElementById(“id”).value」とする方法です。
このようにPyScriptではJavaScript風に書くこともできるので、JavaScriptを勉強して損はなさそうです。
<!DOCTYPE html>
<html lang="ja">
<head>
<meta charset="UTF-8">
<link rel="stylesheet" href="https://pyscript.net/latest/pyscript.css" />
<script defer src="https://pyscript.net/latest/pyscript.js"></script>
</head>
<body>
    <Input type="Input" id="test1" value="test">
    <button py-click="clicked()" id="button">Button</button>
    <div id="text"></div>
<py-script>

    def clicked():
        text = js.document.getElementById("test1").value
        Element("text").write(text)
</py-script>
</body>
</html>
プルダウンメニュー
プルダウンメニューの情報を取得するには、「js.document.getElementByID(“id”).value」とします。
<!DOCTYPE html>
<html lang="ja">
<head>
<meta charset="UTF-8">
<link rel="stylesheet" href="https://pyscript.net/latest/pyscript.css" />
<script defer src="https://pyscript.net/latest/pyscript.js"></script>
</head>
<body>
    <select id="test1">
        <option value="a">a</option>
        <option value="b">b</option>
        <option value="c">c</option>
    </select>
    <button py-click="clicked()" id="button">Button</button>
    <div id="text"></div>
<py-script>

    def clicked():
        text = js.document.getElementById("test1").value
        Element("text").write(text)
</py-script>
</body>
</html>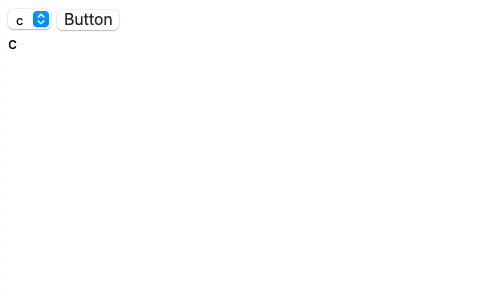
ラジオボタン
ラジオボタンの情報の取得方法もJavaScriptのように取得します。
ということで「変数名 = js.document.getElementByName(“name”)」で、チェックされたかどうかは「変数名.checked」、値を取得するには「変数名.value」です。
<!DOCTYPE html>
<html lang="ja">
<head>
<meta charset="UTF-8">
<link rel="stylesheet" href="https://pyscript.net/latest/pyscript.css" />
<script defer src="https://pyscript.net/latest/pyscript.js"></script>
</head>
<body>
    <input type='radio' id='radio1' name='test1' value="1"><label>1</label>
    <input type='radio' id='radio1' name='test1' value="2"><label>2</label>
    <input type='radio' id='radio1' name='test1' value="3"><label>3</label>
    <button py-click="clicked()" id="button">Button</button>
    <div id="text"></div>
<py-script>

    def clicked():
        radios = js.document.getElementsByName("test1")
        for radio in radios:
            if radio.checked:
                Element("text").write(radio.value)

</py-script>
</body>
</html>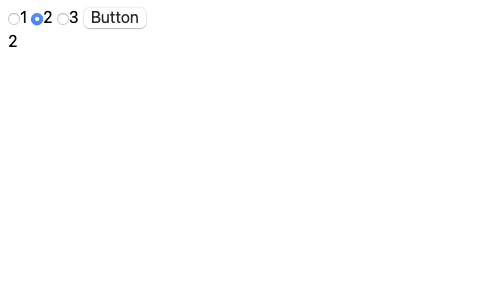
チェックボックス
チェックボックスもJavaScriptのように取得できるため、「変数名 = js.document.getElementByID(“id”)」でチェックボックスの情報を取得し、「変数名.checked」でチェックされたかどうかが取得できます。
<!DOCTYPE html>
<html lang="ja">
<head>
<meta charset="UTF-8">
<link rel="stylesheet" href="https://pyscript.net/latest/pyscript.css" />
<script defer src="https://pyscript.net/latest/pyscript.js"></script>
</head>
<body>
    <input type='checkbox' id='checkbox1'><label>1</label>
    <button py-click="clicked()" id="button">Button</button>
    <div id="text"></div>
<py-script>

    def clicked():
        checkbox1 = js.document.getElementById("checkbox1")
        Element("text").write(checkbox1.checked)

</py-script>
</body>
</html>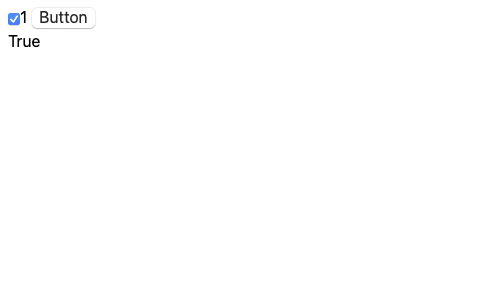
これでボタンや入力欄の情報を取得できるようになりました。
次回はPyScriptでのファイルのアップロード、中身の取得方法を紹介します。
ではでは今回はこんな感じで。

コメント