Open Weather Map
前回、本家のOpen Weather Mapのユーザー登録をしてみました。

今回はこの本家のOpen Weather MapのAPIを使って、現在の天気を取得してみましょう。
現在の天気の取得方法
それでは早速現在の天気を取得してみましょう。
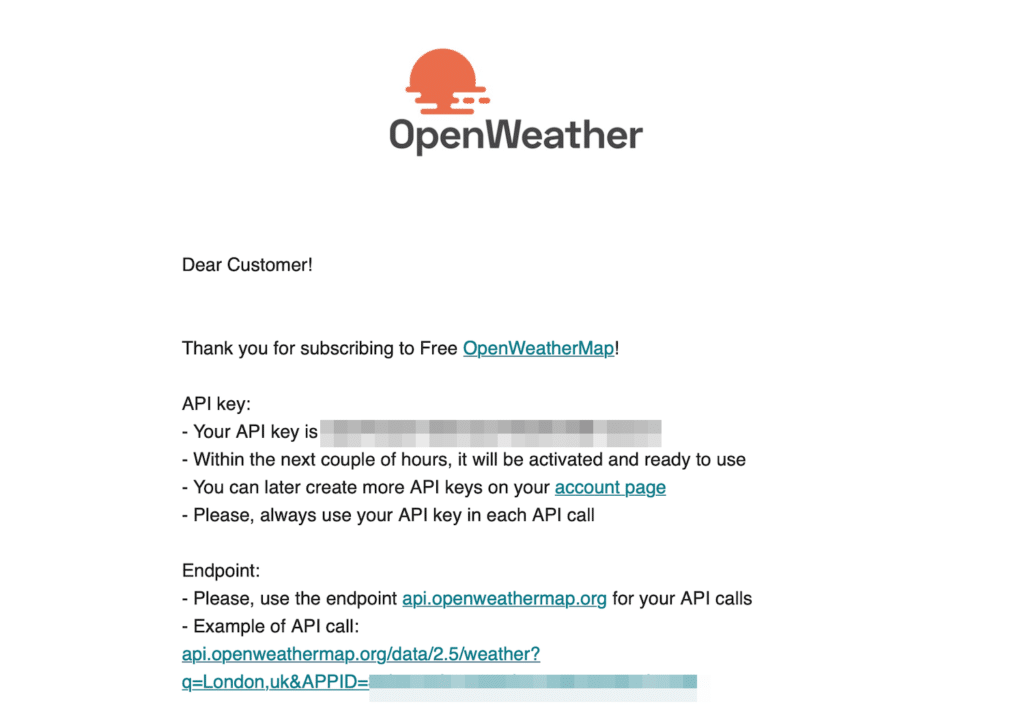
実はその方法は前回API keyが送られてきたメール内に記載されていたりします。

この一番最後の「Example of API call」です。
つまりこのコマンドだけでAPIに接続し、情報を取得することができます。
api.openweathermap.org/data/2.5/weather?q=London,uk&APPID=your_API_keyということで試してみましょう。
import requests
import json

point = 'Tokyo'

api_key = "Your_API_key"
api = "http://api.openweathermap.org/data/2.5/weather?units=metric&q={city}&APPID={key}"

url = api.format(city = point, key = api_key)

weather_data = requests.request("GET", url)
weather_json = json.loads(weather_data.text)

print(weather_json)
まずインポートするモジュールは「requests」と「json」です。
import requests
import json
そして情報を取得するのに必要な情報である「クエリー(場所)」と「API key」、「APIのURL」をそれぞれ変数で定義します。
point = 'Tokyo'

api_key = "Your API key"
api = "http://api.openweathermap.org/data/2.5/weather?units=metric&q={city}&APPID={key}"
ただこのAPIのURLの状態ではまだ場所「{city}」とAPI key「{key}」が入力されていないことに注意してください。
そこで「format」を使ってcityとapi_keyを挿入してやります。
url = api.format(city = point, key = api_key)これによりurlはこんな感じになります。
print(url)

実行結果
http://api.openweathermap.org/data/2.5/weather?units=metric&q=Tokyo&APPID=Your_API_key
そしてRequestsを使ってデータの取得、JSONを使ってデータの読み込みをします。
weather_data = requests.request("GET", url)
weather_json = json.loads(weather_data.text)

print(weather_json)
これを実行するとこんなデータが取得できます。
{'coord': {'lon': 139.6917, 'lat': 35.6895}, 'weather': [{'id': 801, 'main': 'Clouds',
 'description': 'few clouds', 'icon': '02d'}], 'base': 'stations', 'main': {'temp': 21.58,
 'feels_like': 21.91, 'temp_min': 18.98, 'temp_max': 22.79, 'pressure': 1017, 'humidity': 81},
 'visibility': 10000, 'wind': {'speed': 0.89, 'deg': 156, 'gust': 2.68}, 'clouds': {'all': 20},
 'dt': 1633902649, 'sys': {'type': 2, 'id': 2001249, 'country': 'JP', 'sunrise': 1633898631,
 'sunset': 1633939916}, 'timezone': 32400, 'id': 1850144, 'name': 'Tokyo', 'cod': 200}
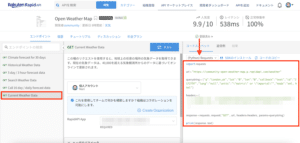
あとは欲しい情報である現在の天気を取得しますが、これは前のRakuten Rapid APIのOpen Weather Mapの時と同様です。

ということでこんな感じで現在の天気が取得できます。
print(weather_json['weather'][0]['main'])

実行結果
Clouds
現在の天気をマークにしてみる
現在の天気を取得できましたが、せっかくなら天気マークにしたいものです。
文字からマークに変更するのに、辞書を使って書くとこうなります。
weather_mark_list = {"Clear":"☀️", "Clouds":"🌥","Rain":"☔️", "Mist":"🌫", "Fog":"🌫"}

weather_mark = weather_mark_list[weather_json['weather'][0]['main']]

print(weather_mark)

実行結果
🌥
もしかしたらまだ他の天気があるかもしれませんが、とりあえずよく出てくる天気に関してだけマークに変更できるようになりました。
Twitter APIでツイートするプログラム
それでは上記のプログラムをTwitter APIでツイートするようなプログラムにしてみるとこんな感じです。
import tweepy
from datetime import date
import requests
import json

timenow = date.today()

#For OpenWeatherMap
weather_points = ["Sapporo", "Tokyo", "Nagoya", "Osaka", "Fukuoka"]
weather_mark_list = {"Clear":"☀️", "Clouds":"🌥","Rain":"☔️", "Mist":"🌫", "Fog":"🌫"}

api_key = " Open Weather Map API key"
api = "http://api.openweathermap.org/data/2.5/weather?units=metric&q={city}&APPID={key}"

#For TwitterAPI
consumer_key = ' consumer key '
consumer_secret = ' consumer secret '
access_token = ' access token '
access_token_secret = ' access token secret '

def weatherget(api, api_key, weather_points):
    weather_list = []
    for point in weather_points:
        url = api.format(city = point, key = api_key)
        weather_data = requests.request("GET", url)
        weather_json = json.loads(weather_data.text)
        weather_word = weather_json['weather'][0]['main']
        weather_mark = weather_mark_list[weather_word]
        weather_list.append(weather_mark)

    return weather_list

def applytweet(consumer_key, consumer_secret, access_token, access_token_secret, weather_list):
    auth = tweepy.OAuthHandler(consumer_key, consumer_secret)
    auth.set_access_token(access_token, access_token_secret)

    api = tweepy.API(auth, wait_on_rate_limit = True)

    api.update_status(
    f"おはようございます😆\n\n\
    現在の各地の天気は...\n\
    札幌 : {weather_list[0]}\n\
    東京 : {weather_list[1]}\n\
    名古屋: {weather_list[2]}\n\
    大阪 : {weather_list[3]}\n\
    福岡 : {weather_list[4]}\n\n\
    今日も1日頑張っていきましょう👍\n\n\
    #Python\n\
    #プログラミング\n\
    #エンジニアと繋がりたい")

def main():
    weather_list = weatherget(api, api_key, weather_points)
    print(weather_list)
    applytweet(consumer_key, consumer_secret, access_token, access_token_secret, weather_list)

if __name__ == '__main__':
    main()
先ほどの本家のOpen Weather Mapに対応した点以外はほぼ前のプログラムのままで大丈夫です。
これで本家のOpen Weather MapのAPIを使って、現在の天気をツイートしたのがこちら。

問題なくツイートできています。
これで現在の天気はツイートできるようになったのですが、本家のOpen Weather MapではAPIコール数が1,000,000コール/月と膨大です。
つまりこれまでの500コール/月と違って、個人で使用するレベルなら気にせずにガンガン使うことができます。
ということで次回は天気予報もツイートできるようプログラムを改良していきましょう。

ではでは今回はこんな感じで。

コメント