Tinkercad – Basic Shape
前回、Tinkercadで準備されている図形を大まかに紹介しました。
今回は図形の中でもTinkercad – Basic Shapeに焦点を当てて、解説をしていきます。
とりあえずTinkercadにログインし、Basic Shapeの場所を確認しましょう。
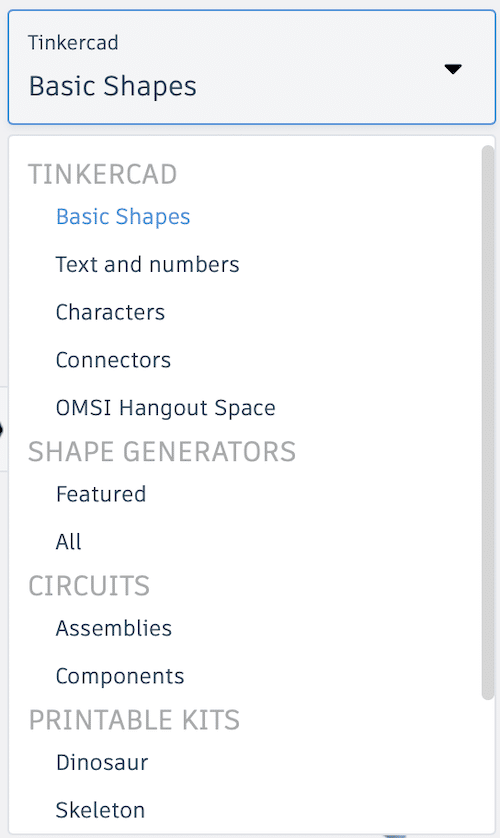
ログインして、作業画面の右側に図形のカテゴリーを変えるプルダウンメニューがあります。
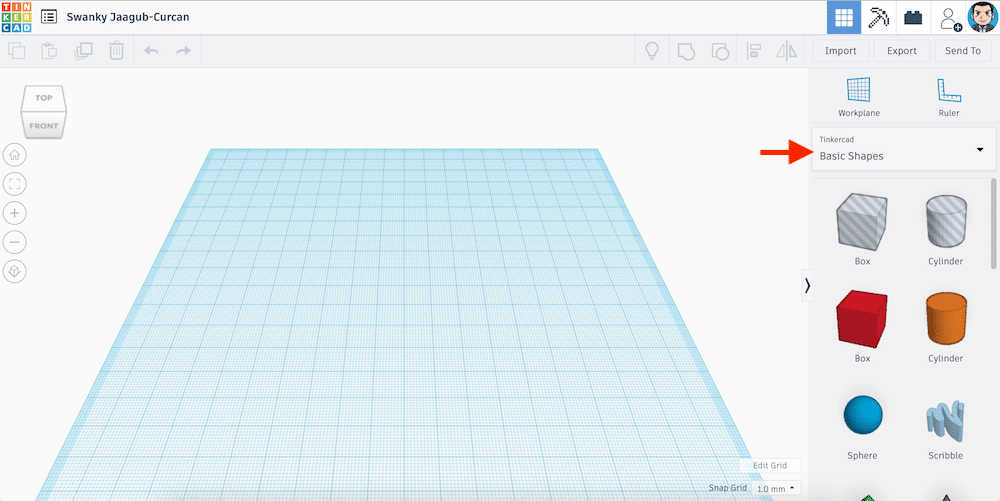
そのプルダウンメニューの上の方に「Basic Shape」があります。
ということで解説していきましょう。
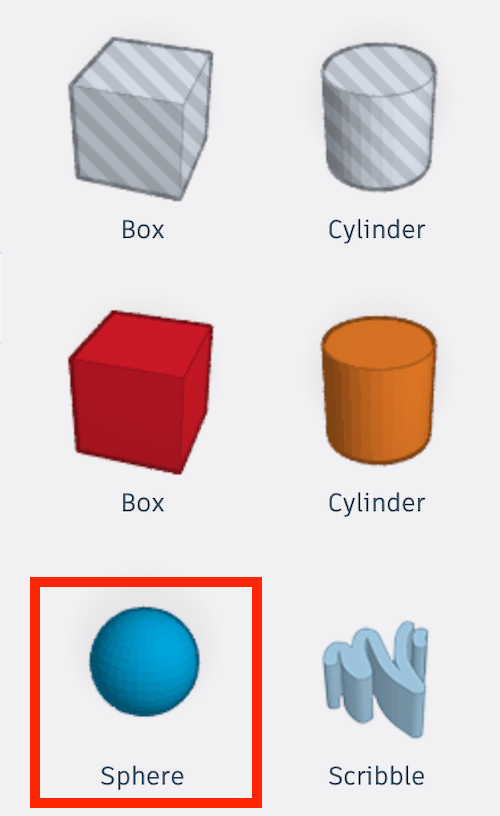
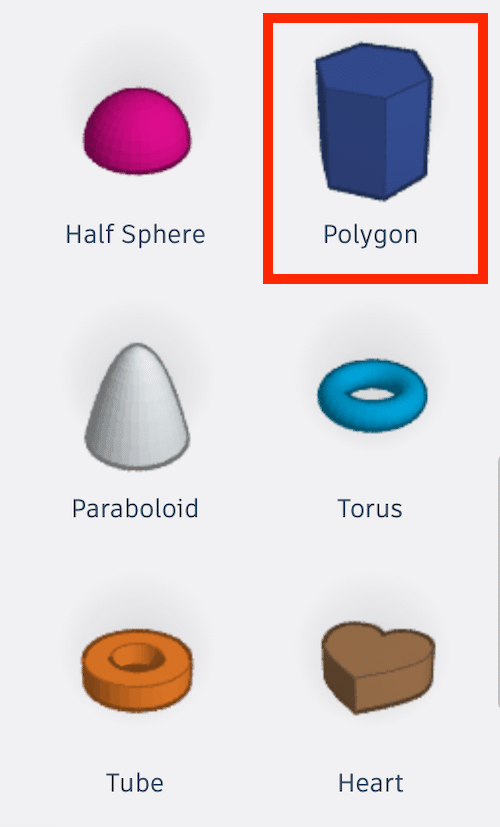
24種類の図形
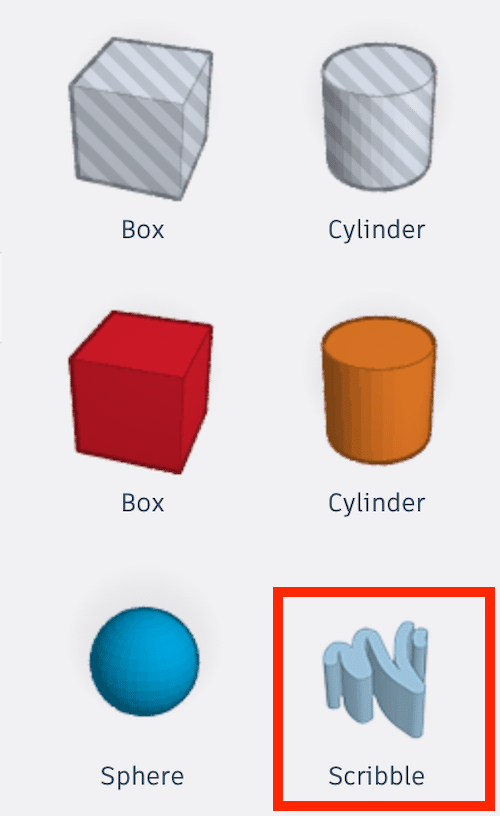
「Basic Shape」には24種類の図形が分類されています。
 |  |
 |  |
似通った図形もありますので、その場合はまとめて解説します。
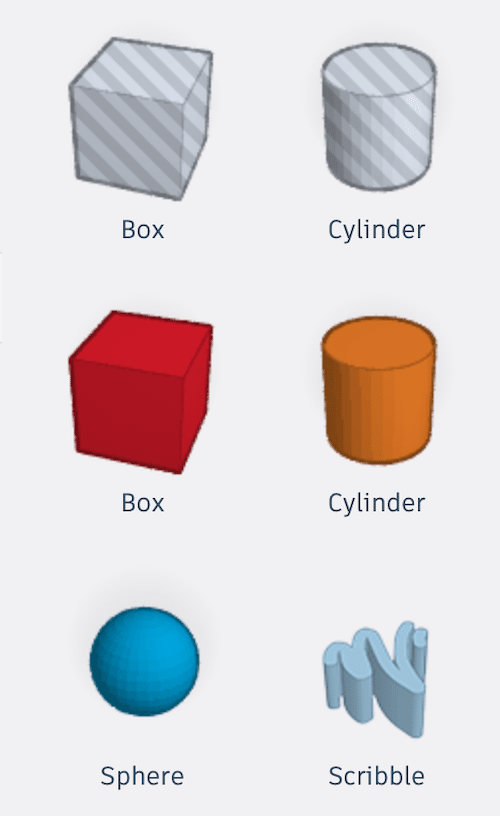
Box
最初に紹介するのは「Box」、そのまま「箱」ですね。
ですが「Box」は2つあります。
何故2つあるのでしょうか?
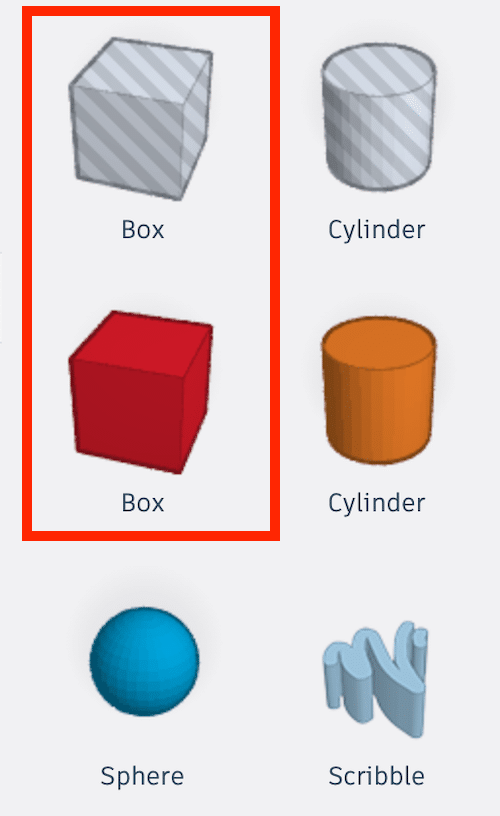
とりあえず作業スペースに置いてみました。
左側が上のBox、右側が下のBoxです。

一方をクリックして、選択してみると図形の詳細設定ウインドウが出てきます。
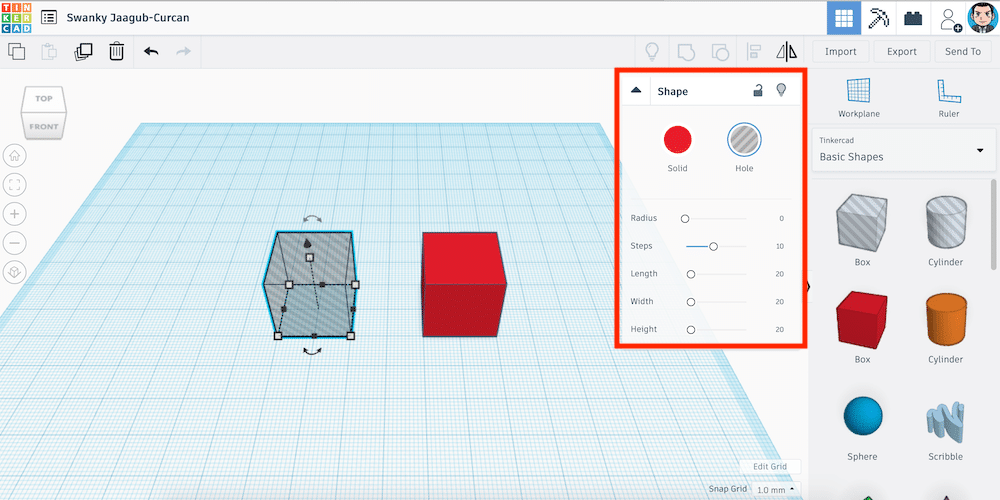
今後、他の図形でもこの詳細ウインドウを中心に解説していきます。
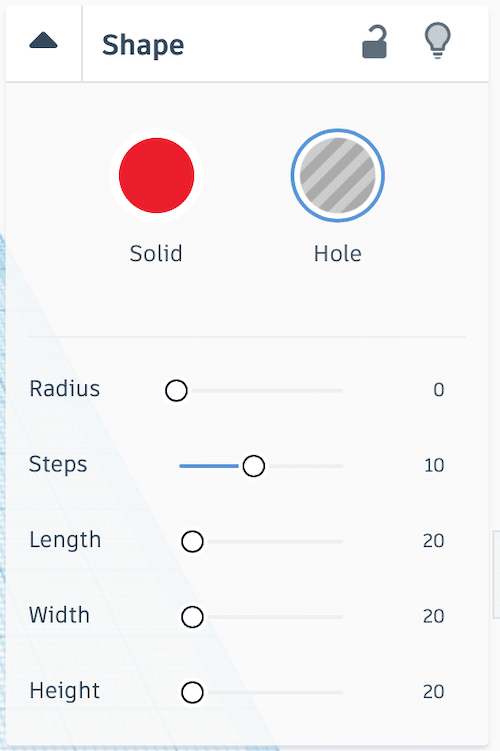
上から1つずつ見てみましょう。
「Solid、Hole」はBoxを立体物とするか、穴とするかを決めます。
立体物とか穴とかよく分かりませんが、デザインに穴を開ける方法を解説すれば分かってもらえると思います。
ということでちょっと寄り道をして、穴を作る方法を解説します。
デザインに穴を作成する方法
ある構造に穴を開けたいとき、次のような手順を行います。
- 元となる図形をデザインする
- 穴となる図形をデザインする
- 両方の図形を選択する(作業スペースの何もないところから図形を囲むようにドラッグ)
- 「グループ」をクリック
最後の「グループ」のボタンはこちらにあります。
また「Ctrl + G」でもグループ化することができます。
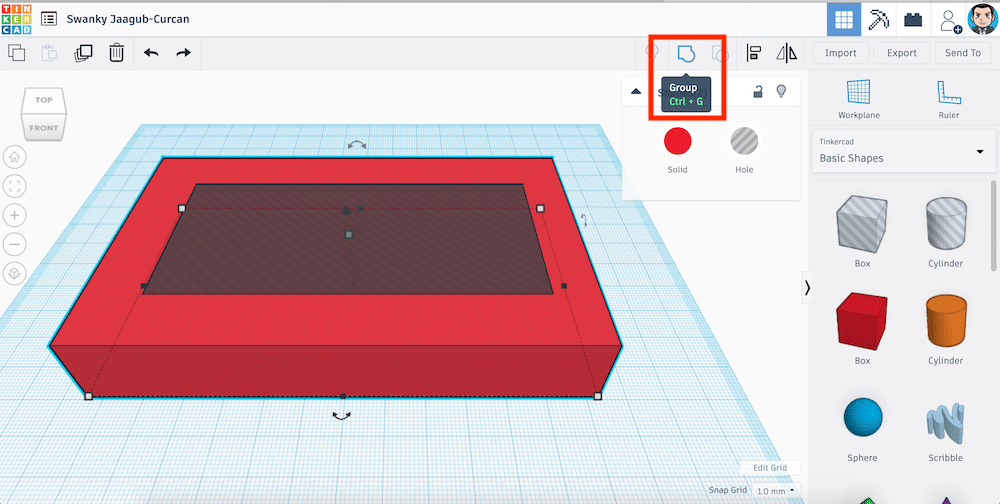
どの構造でも「Hole」を選んで、このように穴を開けることができるので、色々と試してみてください。
RadiusとSteps
では図形の詳細設定ウインドウに戻って、「Radius」と「Steps」を見てみましょう。
この2つは連動しているので、一緒に解説します。
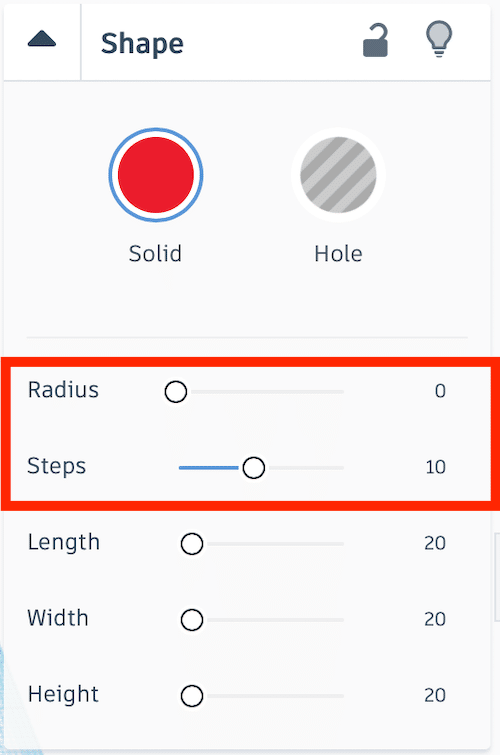
Radiusは半径、Stepsは段階といったところでしょうか。
とりあえず変えてみましょう。

「Radius」の値を大きくすると角が取れて丸くなります。
角を丸くした状態で「Steps」を小さくすると、角の丸みが荒くなります。
ちなみに他の「Length」「Width」「Height」はそれぞれ「縦」「横」「高さ」なので、説明は割愛します。
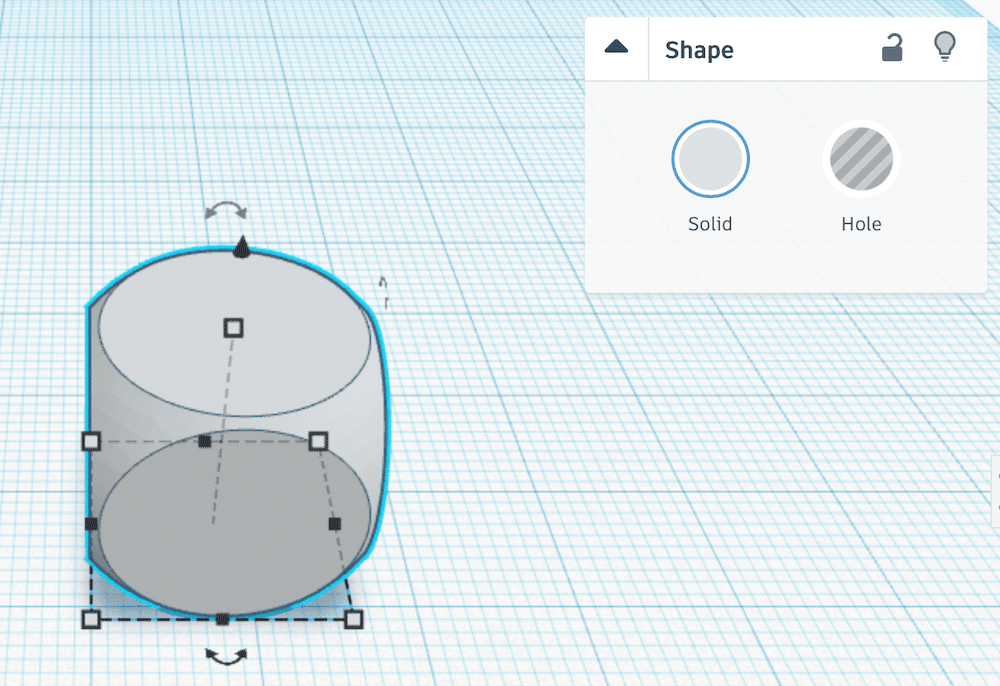
Cylinder
次はCylinder、円柱形です。
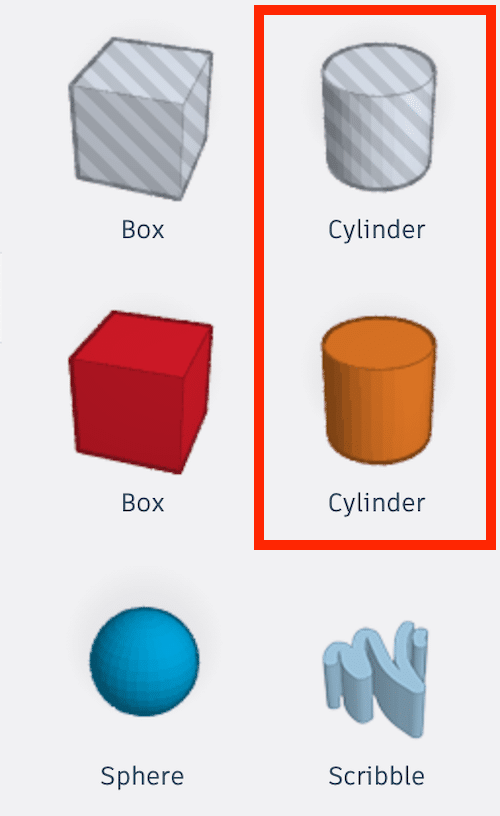
こちらも2つありますが、「Box」同様、「Solid」と「Hole」の差だけなので、説明は割愛します。
詳細設定ウインドウには、「Sides」「Bevel」「Segments」の3つのスライドバーがあります。
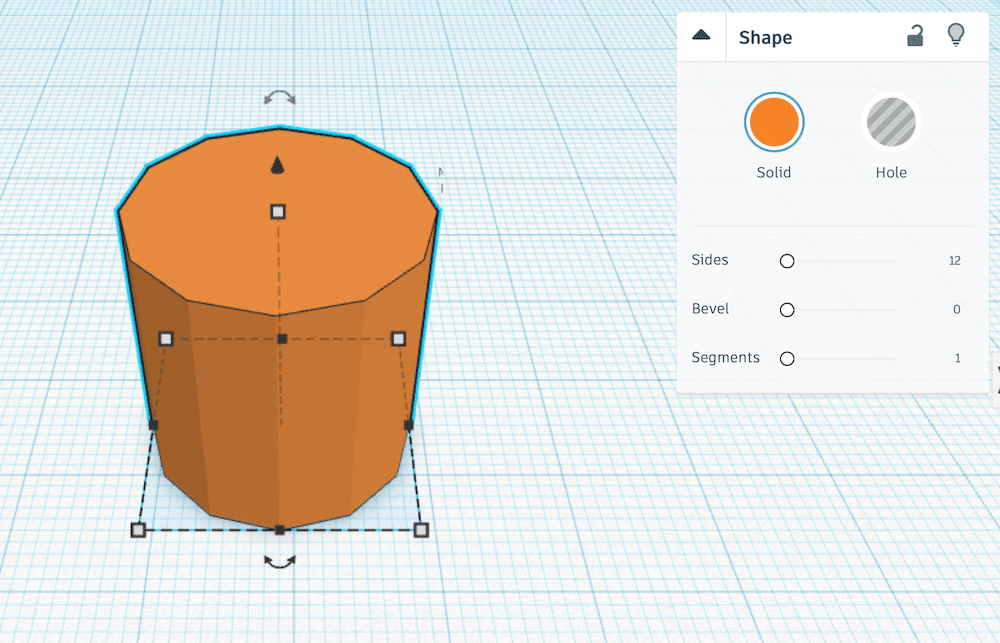
Sides
こちらは円柱の横面の分割数です。
小さくなると横面が荒く、大きくなると細かくなります。
BevelとSegments
「Bevel」と「Segments」は連動しているので、一緒に解説します。
こちらは面取りの大きさ(Bevel)と、細かさ(Segments)を設定します。
Sphere
次は「Sphere」、つまり「球」ですね。
「Shpere」の設定項目は「Steps」という項目だけになります。
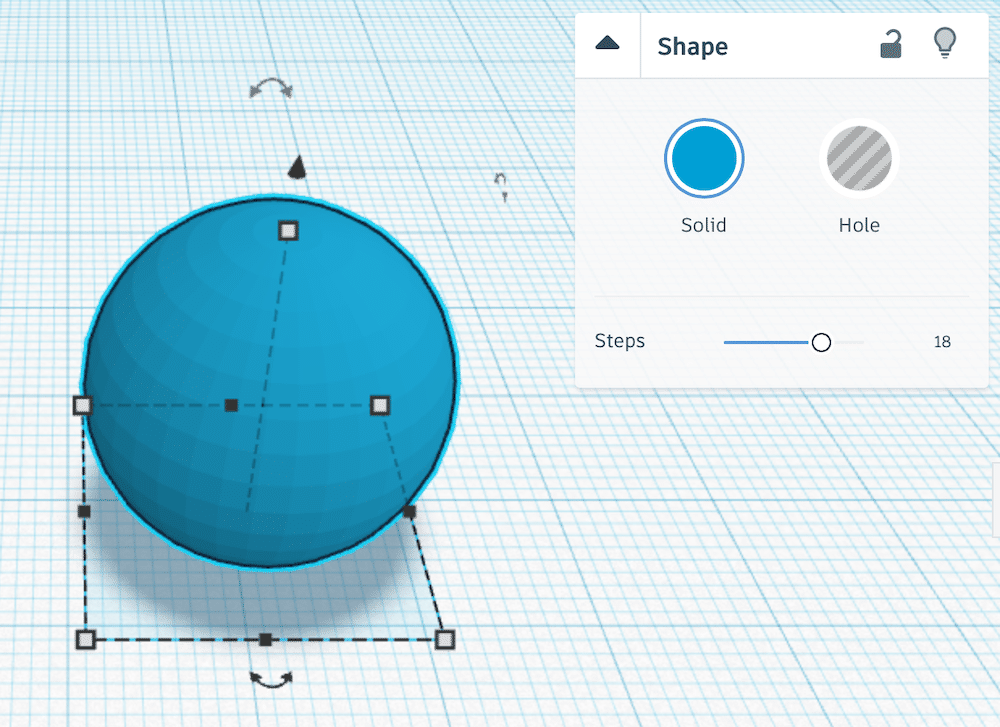
Steps
「Steps」は球の表面の粗さの設定項目になります。
Scribble
次は「Scribble」です。
Scribbleは調べてみたら「落書き」という意味だそうです。
これはまずは使っている画面をみてもらった方が分かりやすいと思います。
「Scribble」を作業スペースにドラッグ&ドロップすると、画面が切り替わります。
そこで好きな図形を描くと、それが立体になると言った感じです。
描いた後は詳細設定ウインドウが現れ、「Height」つまり高さを変えることができます。
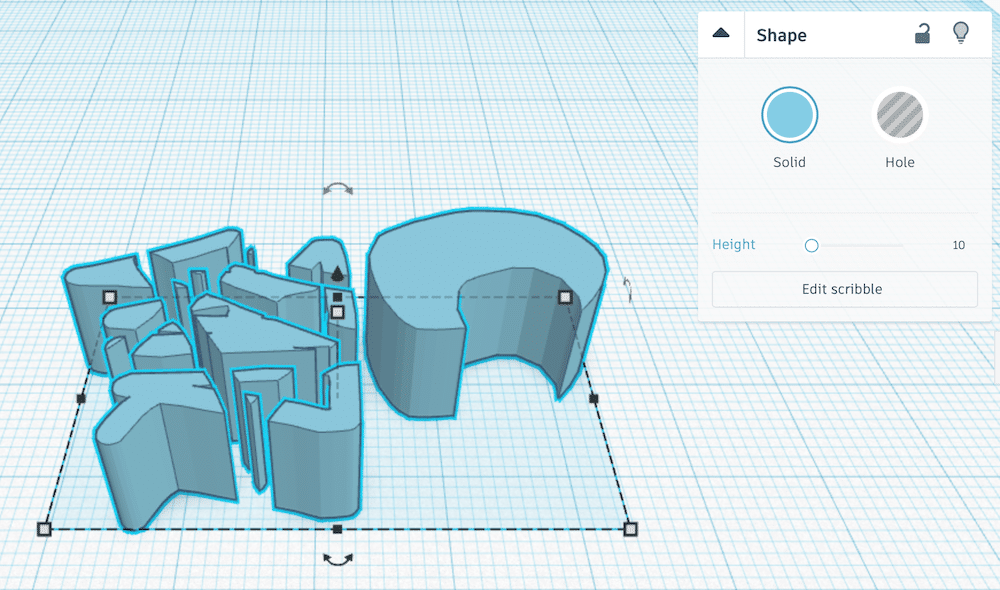
また図形を修正したい場合は「Edit scribble」をクリックすると、先ほどの上からみた画面に再度切り替わります。
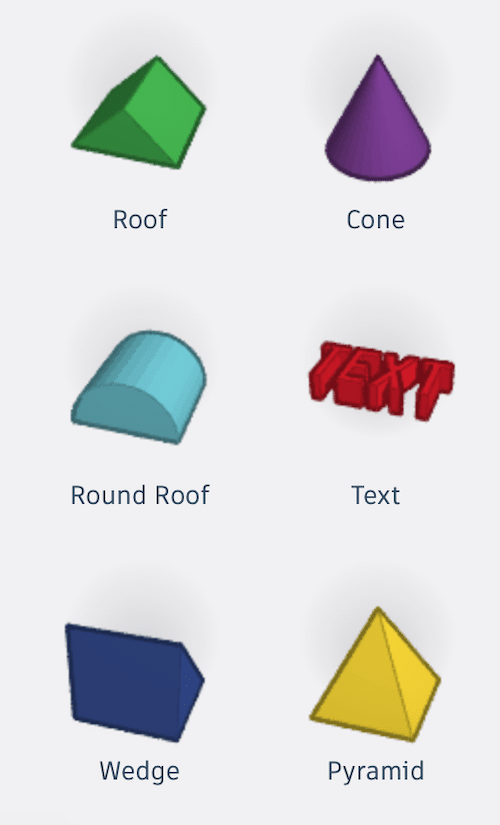
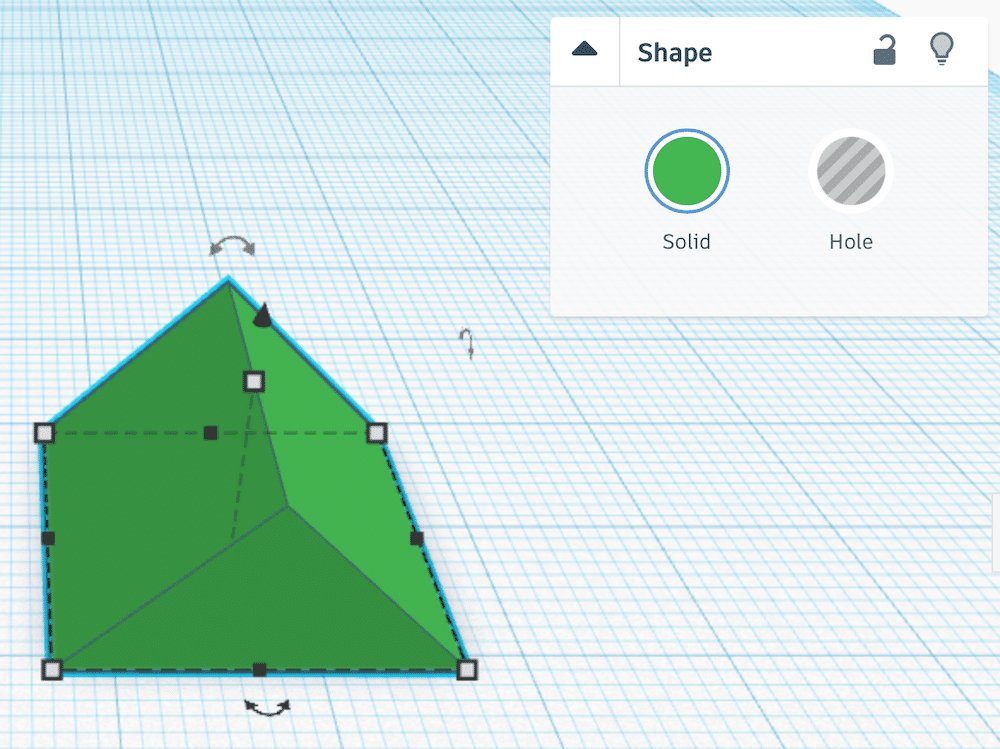
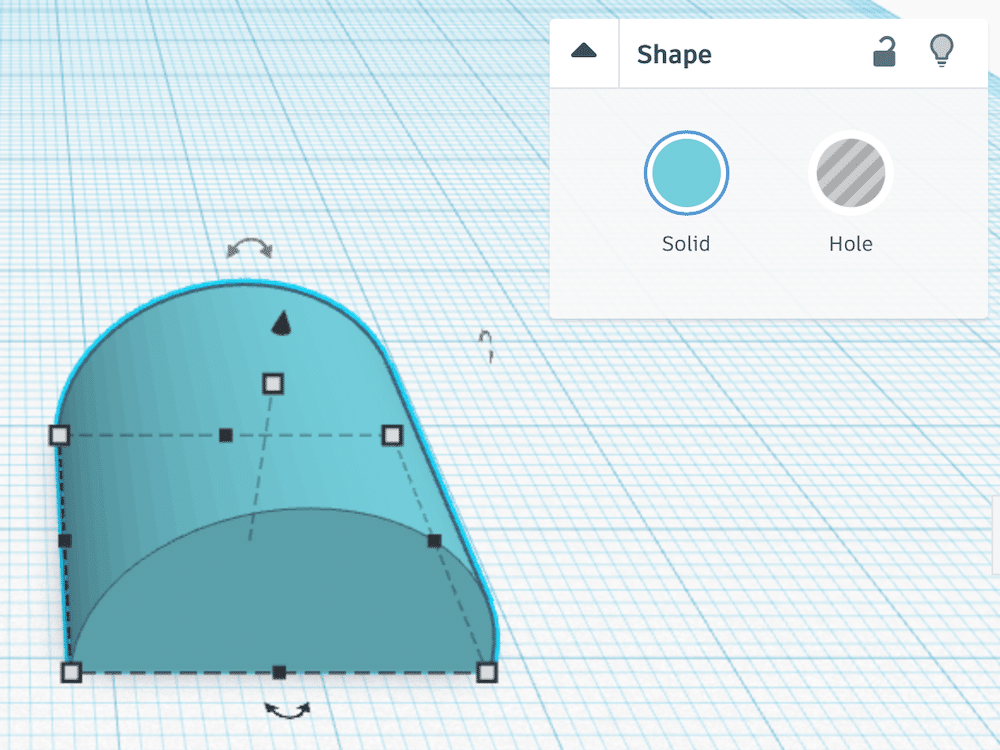
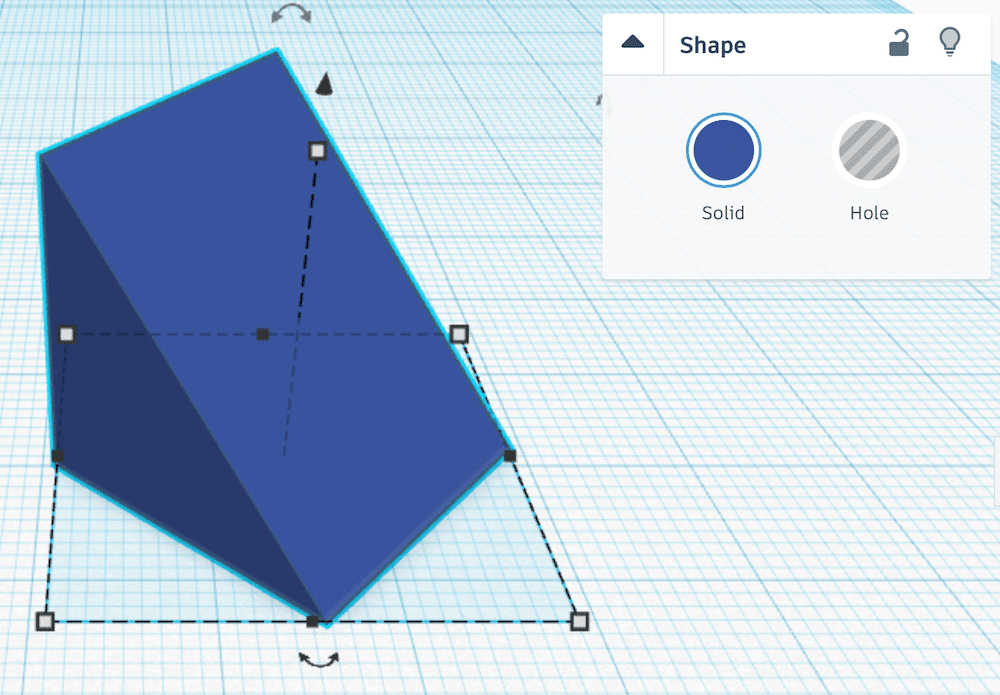
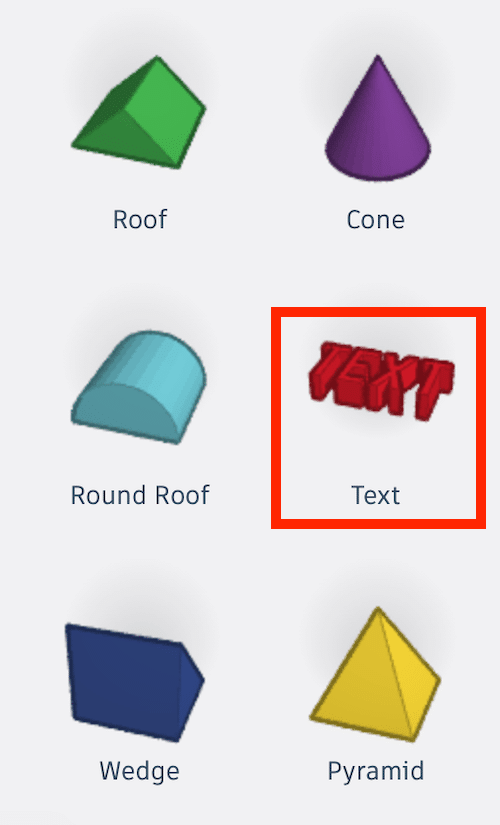
Roof、Round Roof、Wedge
「Roof」「Round Roof」「Wedge」の3つを一気に紹介します。
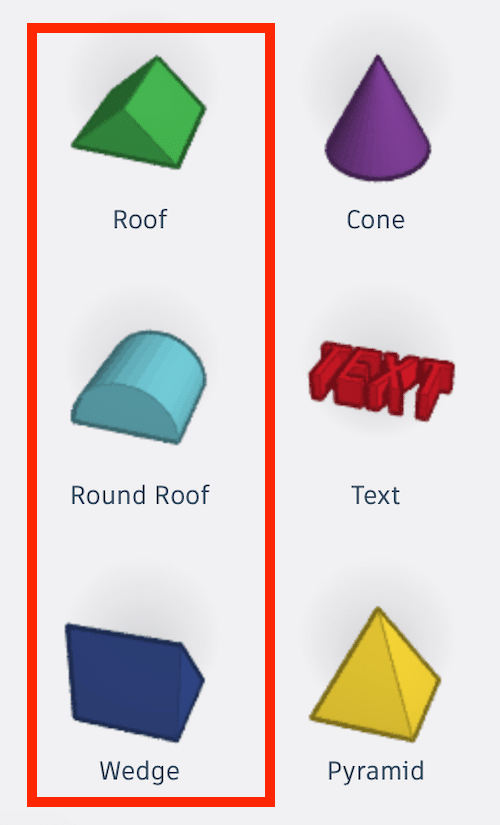
「Roof」と「Round Roof」は屋根のような形で三角形か半円筒状になっています。
「Wedge」は直訳すると「くさび型」とのことです。
「Roof」と「Wedge」は違う見方をすると三角柱ですね。
この3つは特に詳細設定はありません。
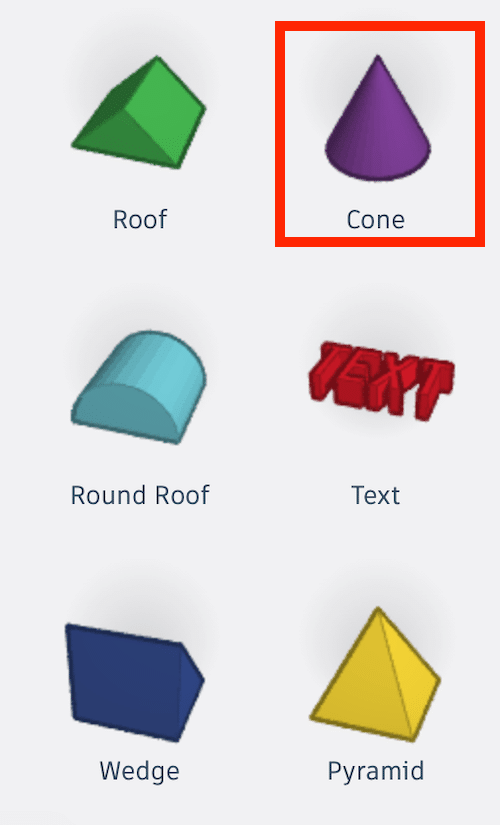
Cone
「Cone」は三角コーンのような形です。
詳細設定項目としては「Top Radius」「Base Radius」「Height」「Sides」の4つがあります。
「Height」は高さなので省略します。
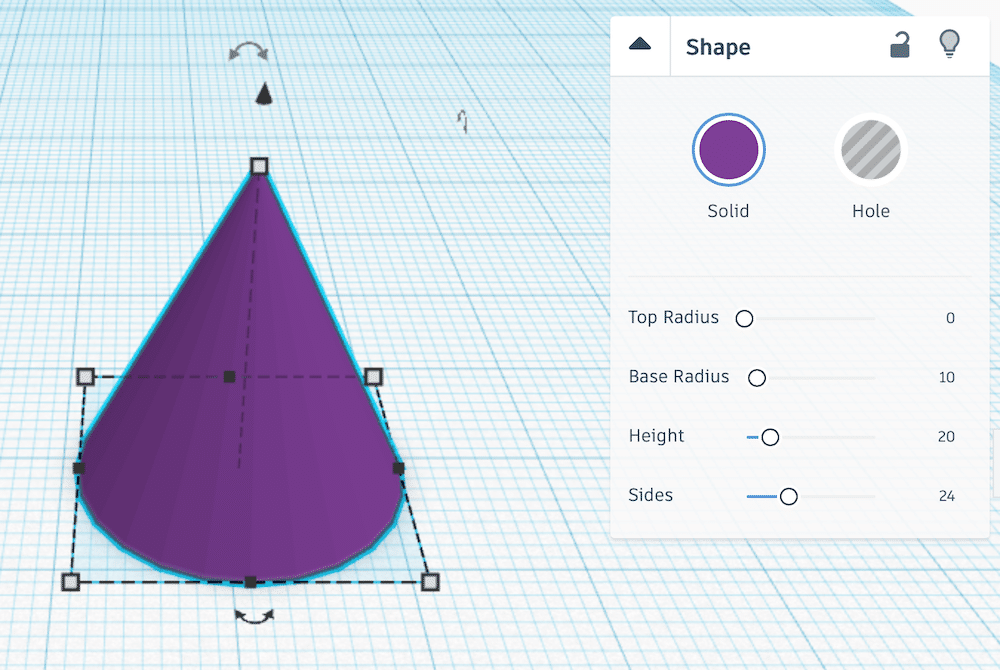
Top RadiusとBase Radius
三角錐の上の円と下の円の半径をそれぞれ別々に設定することができます。

Sides
「Sides」は底面の角数です。
一番少ない3では三角錐に、数が大きくなればなるほど円に近づきます。
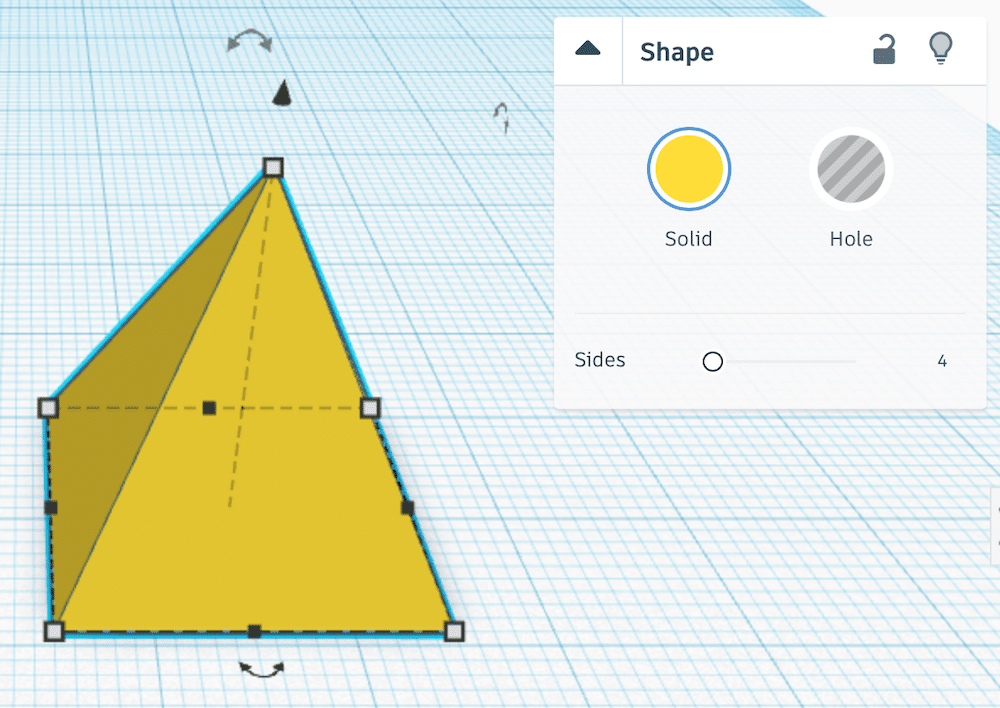
Pyramid
「Cone」に似た図形として「Pyramid」があるのでついでに紹介しておきます。
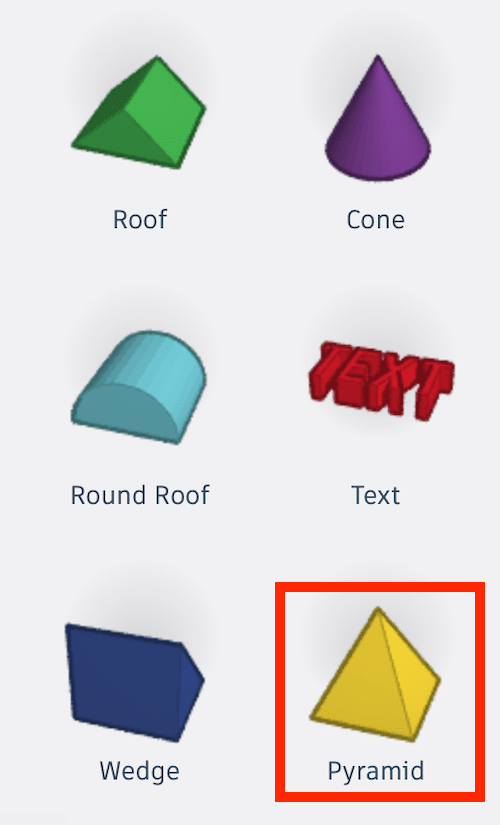
「Pyramid」の場合は「Sides」のみ、つまり底面の角数のみを設定できます。
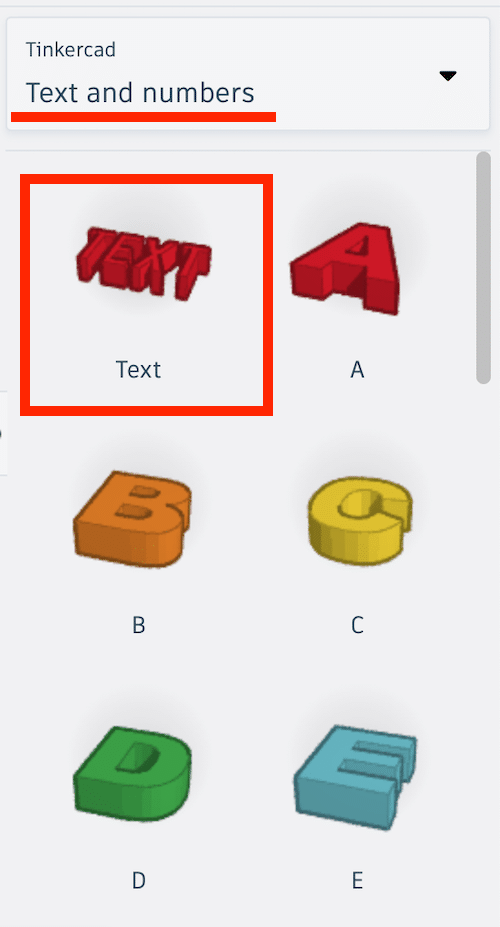
Text
「Text」は文字をデザインする場合に用います。
「Text」は「Basic Shape」だけでなく、「Text and numbers」にもあります。
機能的には同じものなので、どちらを使っても大丈夫です。
「Text」には「Text」「Font」「Height」「Bevel」「Segments」の5つの項目があります。
「Height」は高さなのでこちらの解説は省略します。
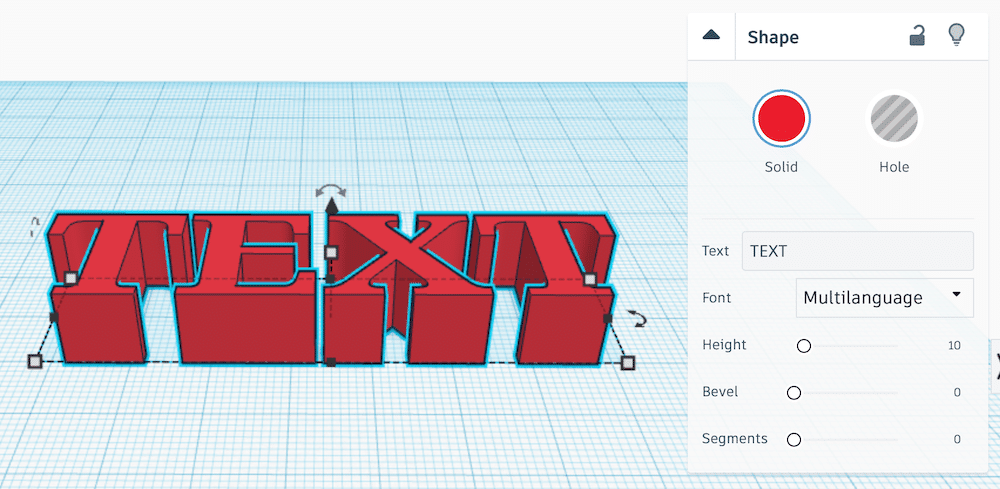
Text
設定項目の「Text」はデザインする文字のことです。
ここに好きなように文字を打ち込むと、出力される文字が変わります。

Font
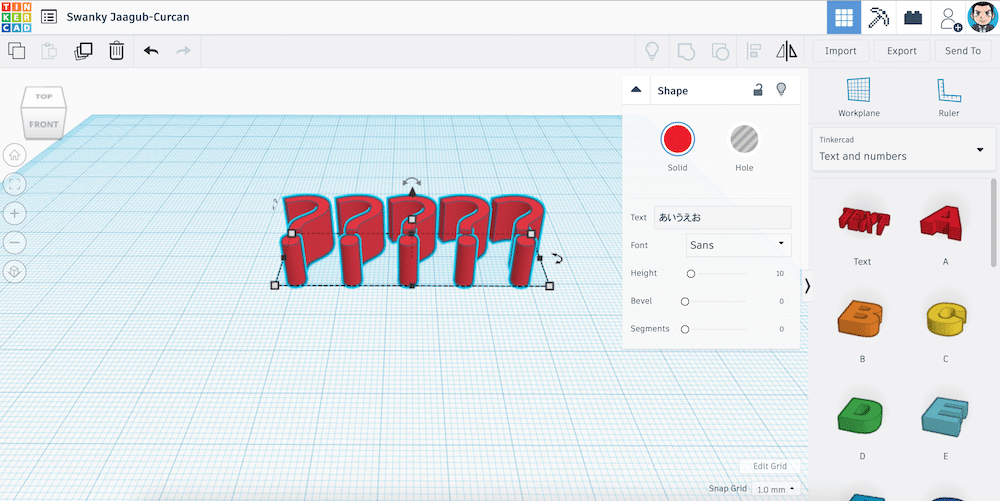
「Font」はその名の通り使用するフォントです。
選べるフォントは「Multianguage」「Sans」「Sans Mono」「Serif」の4種類あります。
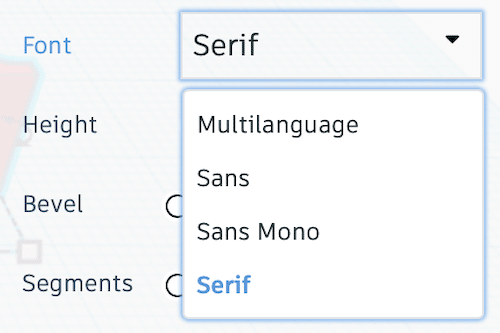
それぞれのフォントはこんな感じです。
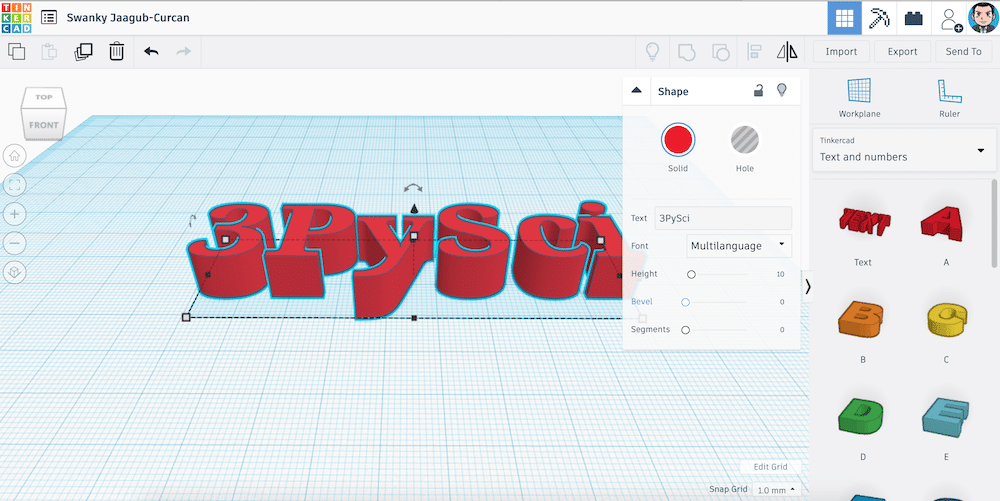
Multianguage
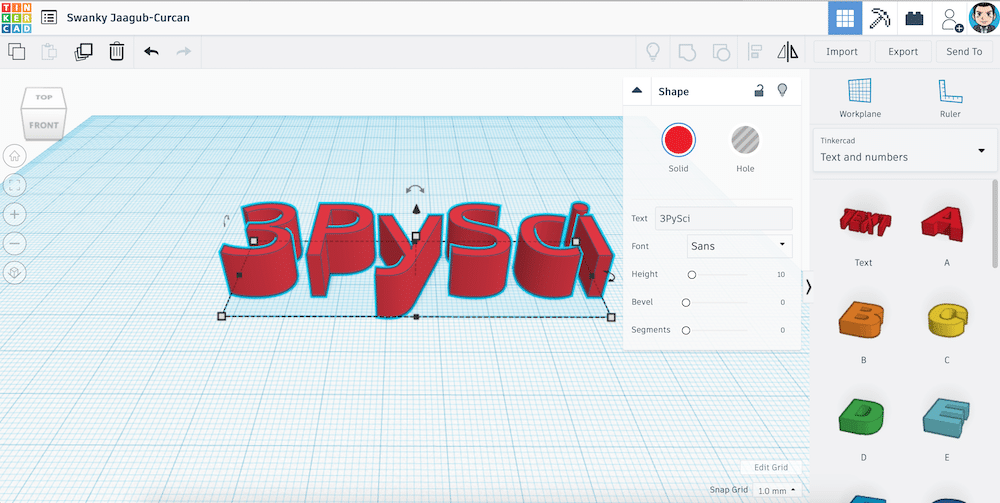
Sans
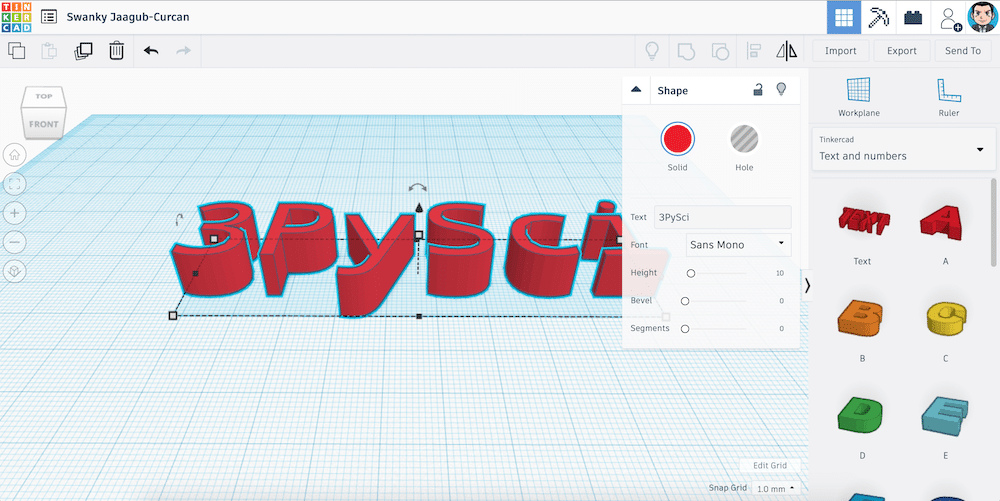
Sans Mono
Serif
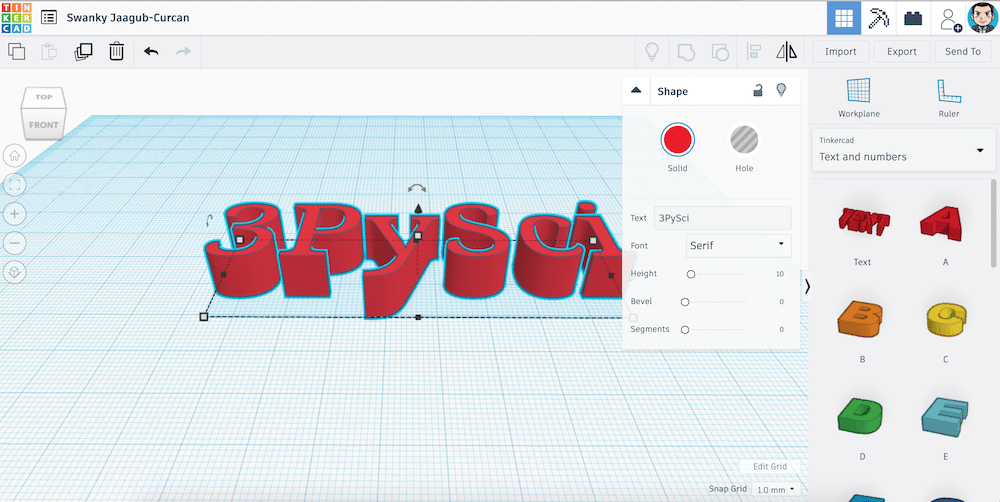
ちなみに「Multianguage」であれば日本語も使うことができます。

「Sans」「Sans Mono」「Serif」の場合、日本語を入力すると認識されず「?????」で表示されるので注意してください。
BevelとSegments
「Bavel」と「Segments」は前にも出てきましたが、面取りの深さとカーブの細かさになります。
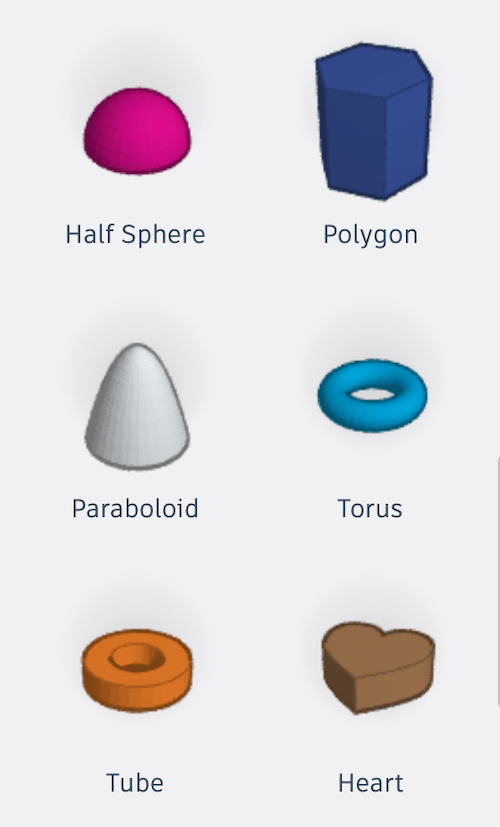
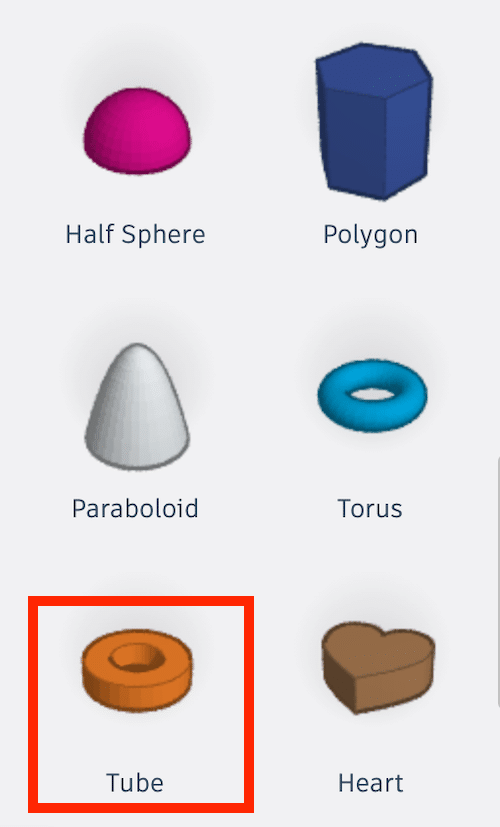
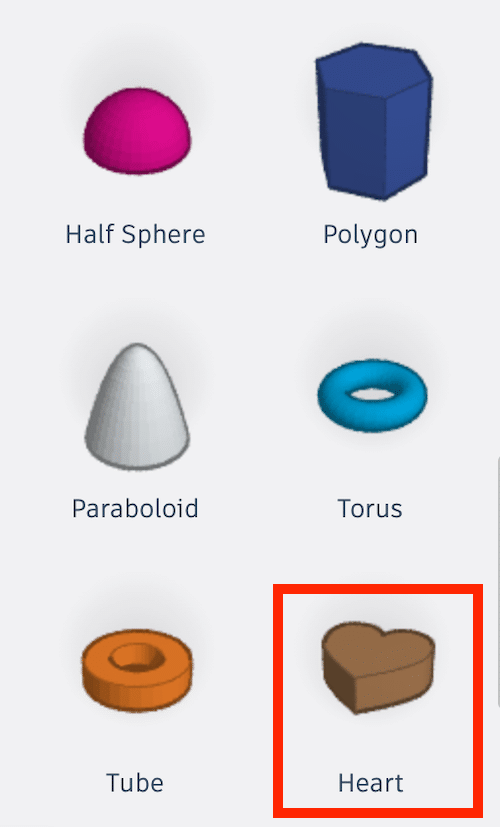
Half Sphere
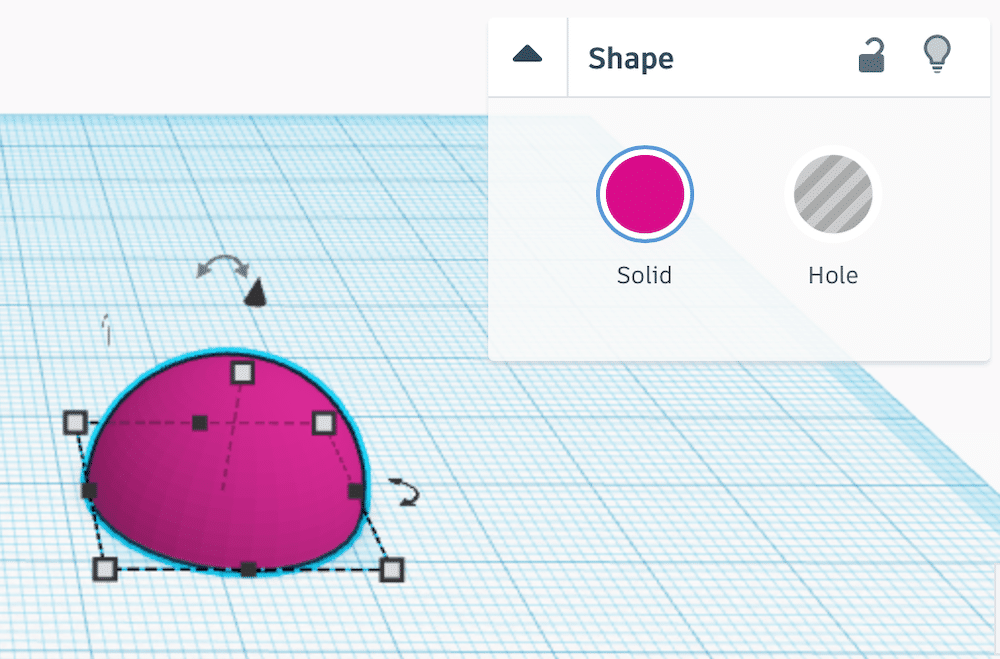
「Half Sphere」は半球です。
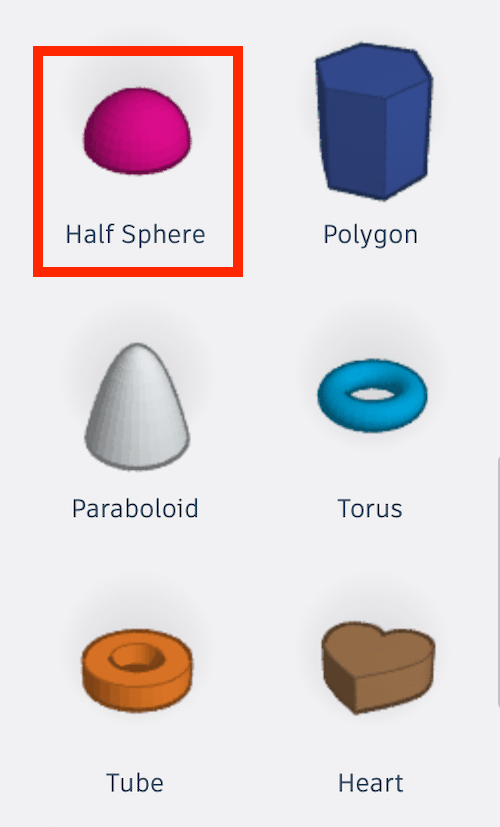
「Half Sphere」には特に設定項目はありません。
Paraboloid
「Half Sphere」に似た図形として「Paraboloid」があります。
直訳すると「放物体」とか「放物線」とかになります。
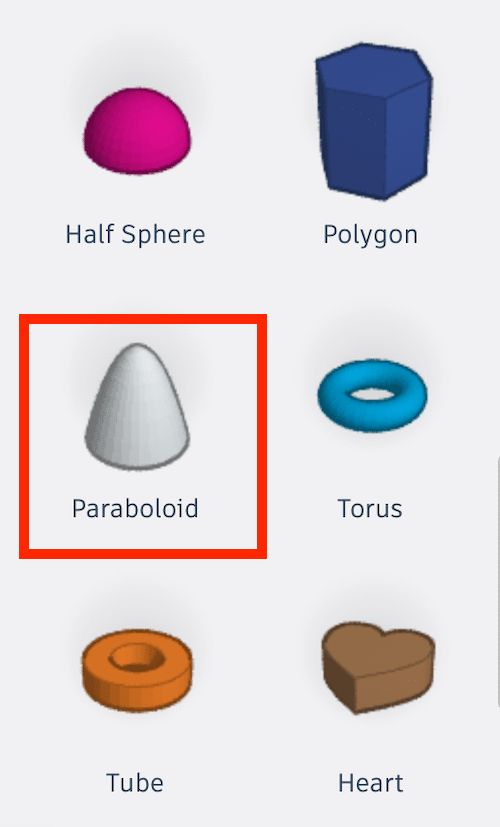
形を見ると分かるように、要するにパラボラアンテナのような形状になります。
「Paraboloid」で設定できる項目は「Steps」で、底面の角数です。
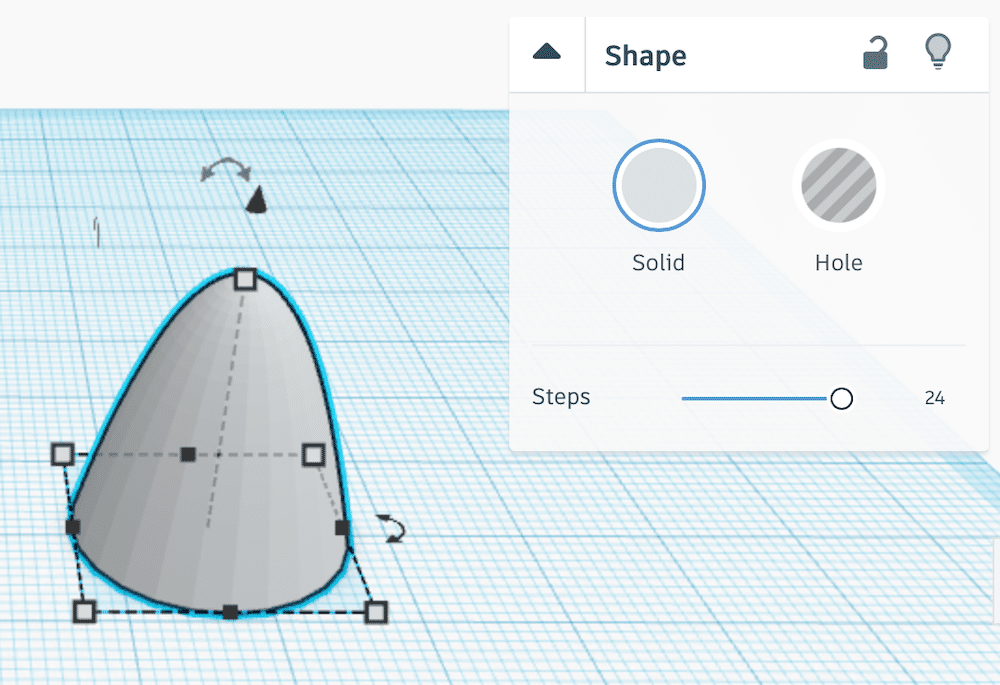
「Steps」を変えてみるとこんな感じです。
Polygons
「Polygons」は直訳すると多角形ですが、ここでは多角柱のことのようです。
設定できる項目としては、「Sides」「Bevel」「Segments」の3つがあります。
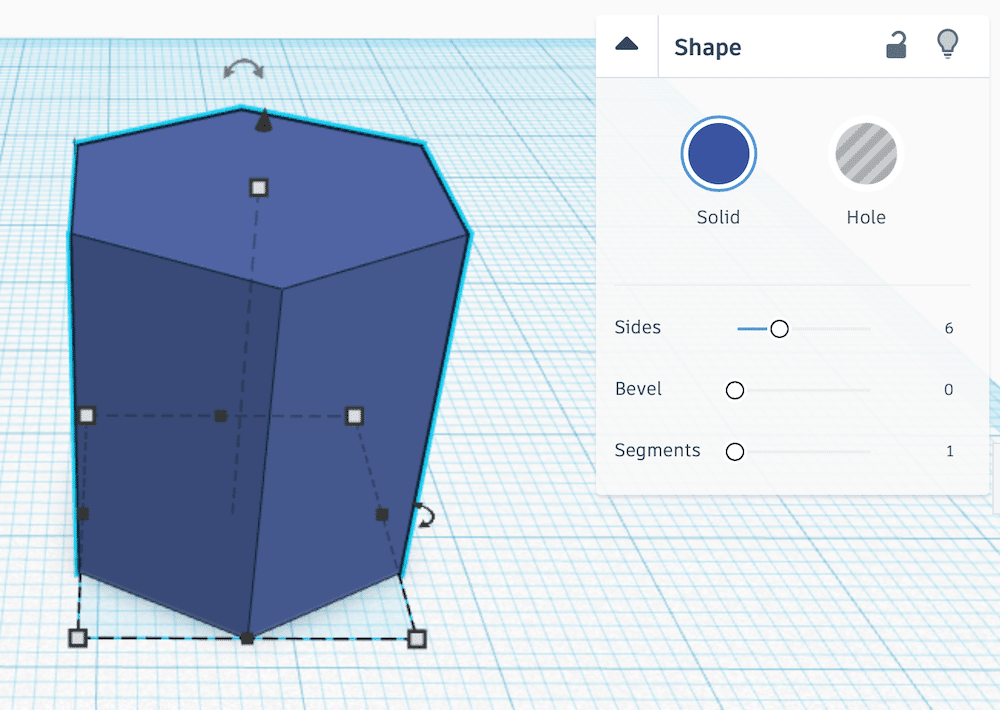
Sides
「Sides」は底面の角数です。

BevelとSegments
「Bavel」と「Segments」は面取りの深さとカーブの細かさになります。
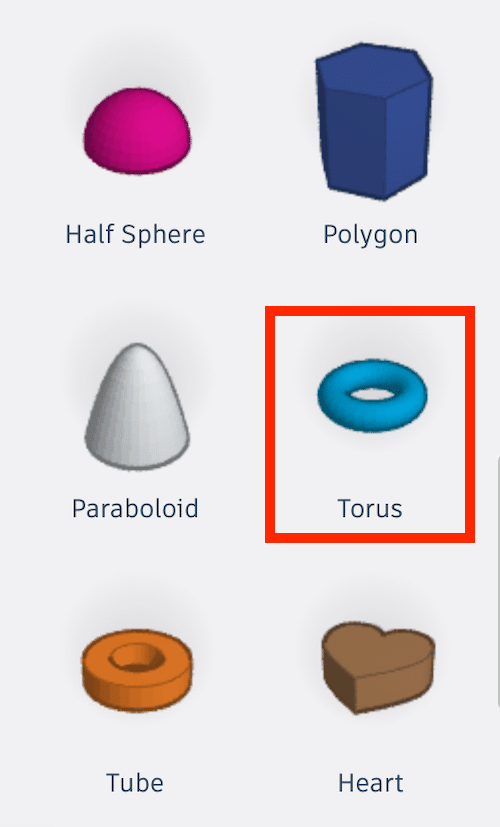
Torus
続き一つ目は「 Torus」。
「Torus」は何だろうなぁと何気なく調べてみたら、なかなか難しい解説がWikipediaに載っていました。
初等幾何学におけるトーラス(英: torus, 複数形: tori)、円環面、輪環面は、円周を回転して得られる回転面である。
https://ja.wikipedia.org/wiki/トーラス
いわゆるドーナツみたいな構造だと思えばいいのでしょうか。
設定できる項目は「Radius」「Tube」「Sides」「Steps」の4種類。
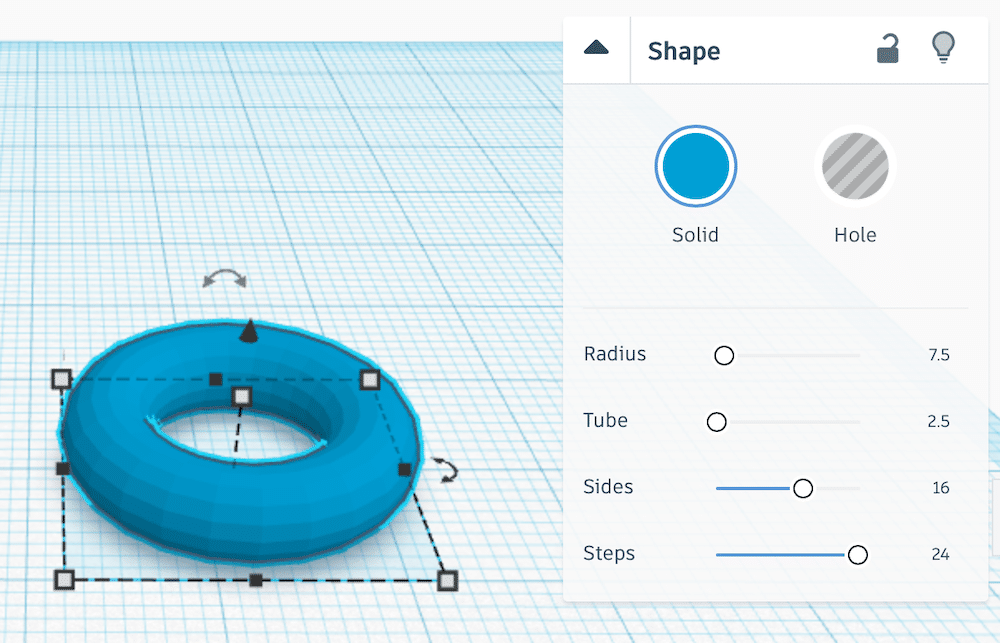
Radius
「Radius」は半径です。
小さくすれば円が小さく、大きくすれば円が大きくなります。
Tube
「Tube」ではドーナツの太さを変えることができます。
Sides
「Sides」ではドーナツ形状の側面の粗さを設定することができます。
Steps
「Steps」は円の角数を変更することができます。
Tube
次は似たような図形で「Tube」です。
「Tube」は先ほどの「Torus」と違って、回転体が角張っています。
設定できる項目は「Radius」「Wall Thickness」「Sides」「Bevel」「Bevel Segments」の5つです。
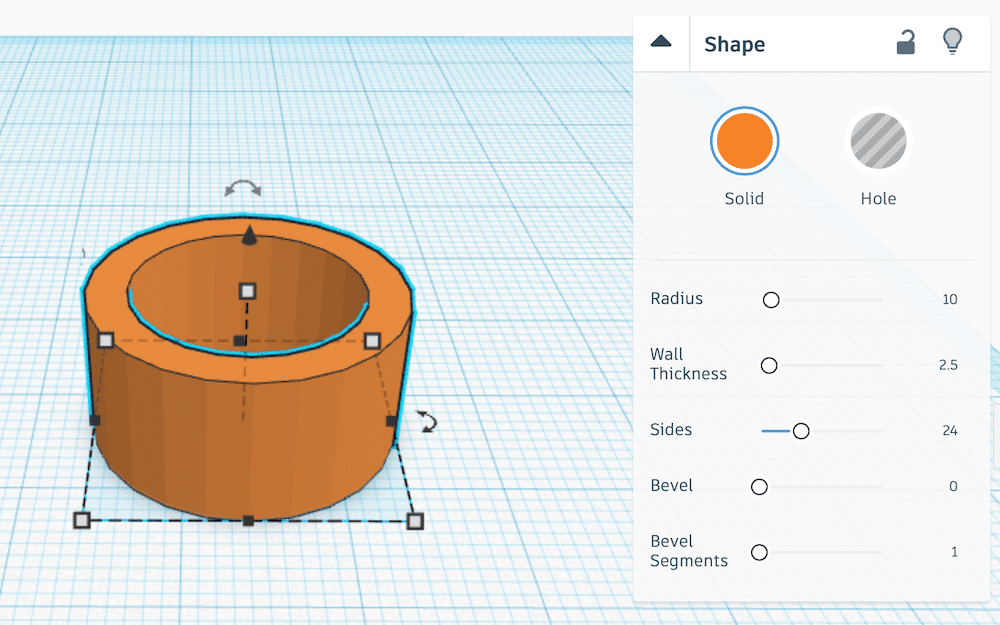
Radius
「Radius」は先ほどの「Torus」でもあったように円の半径です。
Wall Thickness
「Wall Thickness」は円の厚さです。
値を大きくすると、厚みは円の内側方向に厚くなります。
Sides
「Sides」も「Torus」であったように円の角数になります。
値が大きくなればなるほど円に近づきます。

BevelとBevel Segments
「Bevel」は面取りで、その細かさを「Bevel Segments」で設定します。
「Tube」の面取りは外側だけで、内側の形状が変わらないのが特徴のようです。
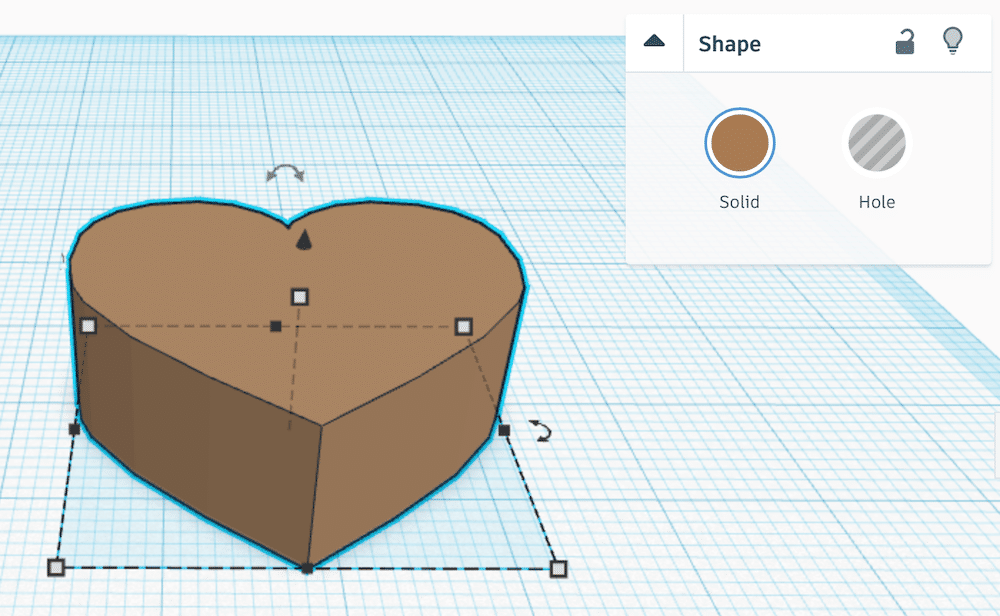
Heart
「Heart」はその名の通りハート型の形状です。
特に設定項目はありません。
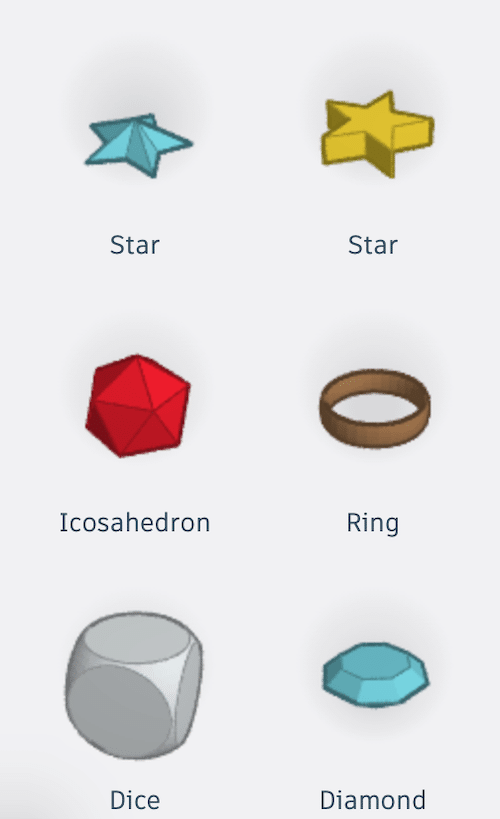
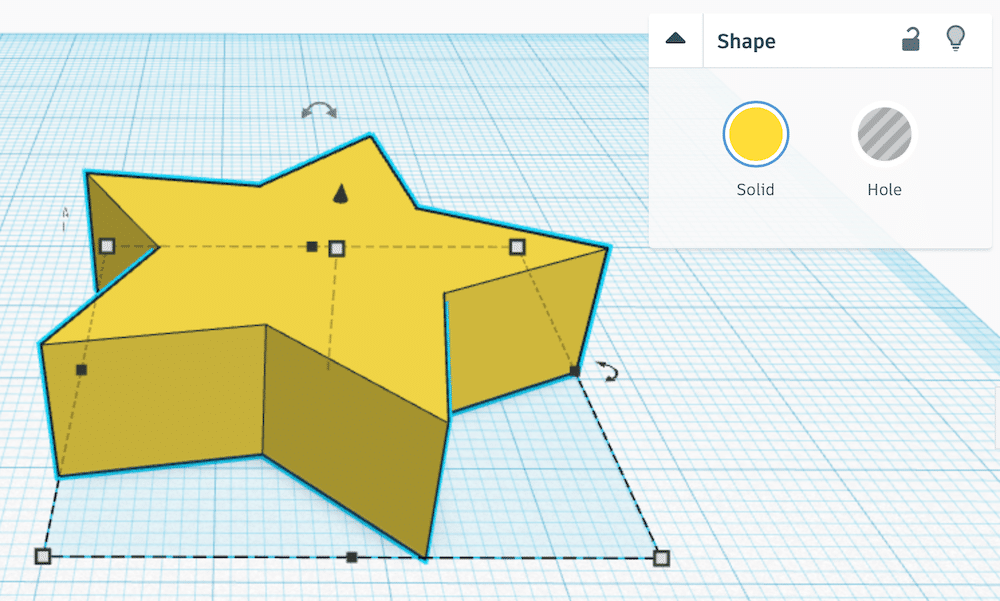
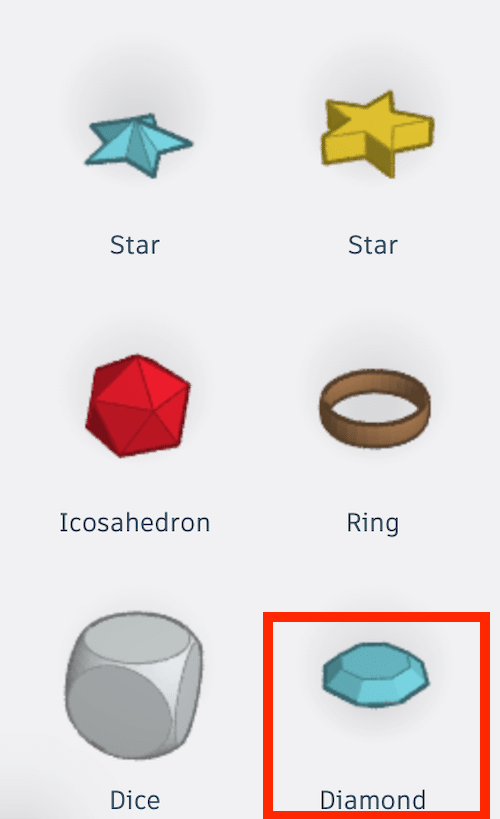
Star
「Star」は何故か二つあります。
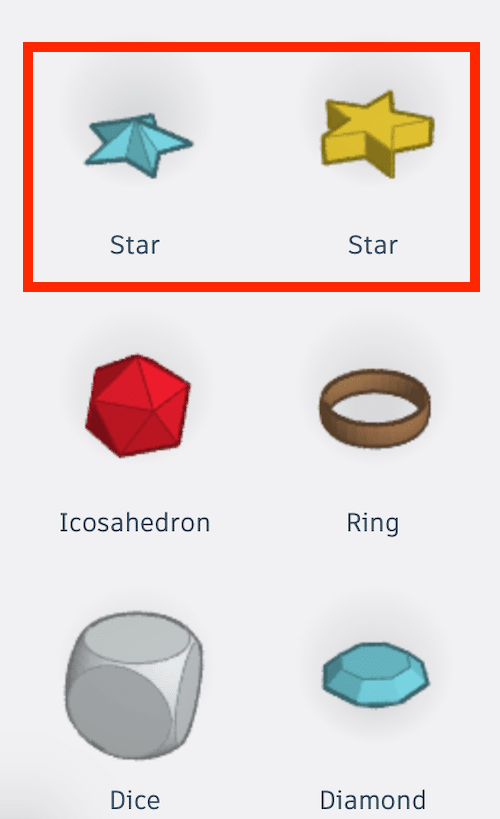
右側の黄色の「Star」はそのまま星形の図形で、特に変更できる項目はありません。
反面、左側の水色の「Star」では「Points」「Radius」「Inner Radius(%)」の3つを変更することができます。
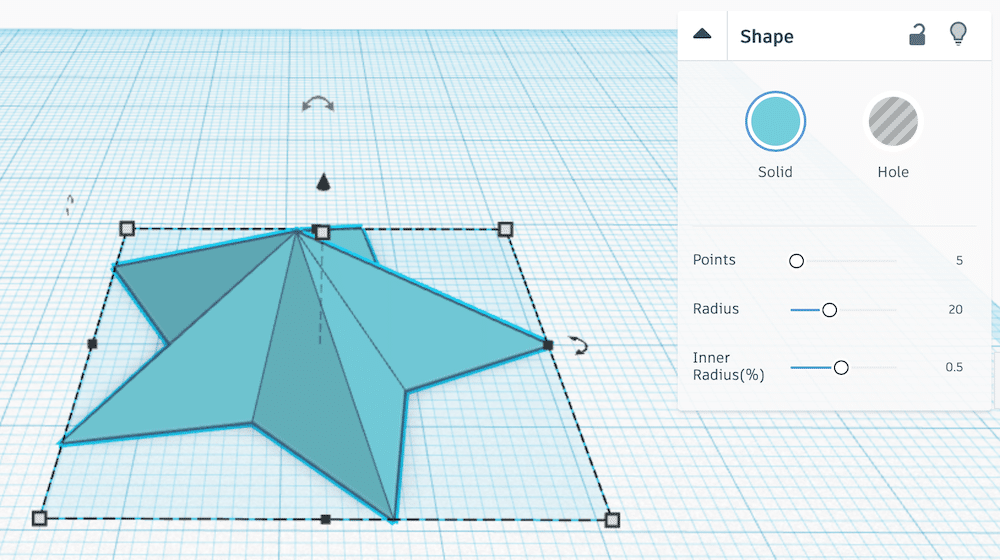
Points
「Points」は星の頂点の数です。
Radius
「Radius」は星形の頂点の位置の半径です。

Inner Radius(%)
「Inner Radius(%)」は星型の内側(凹んだ部分)の半径です。
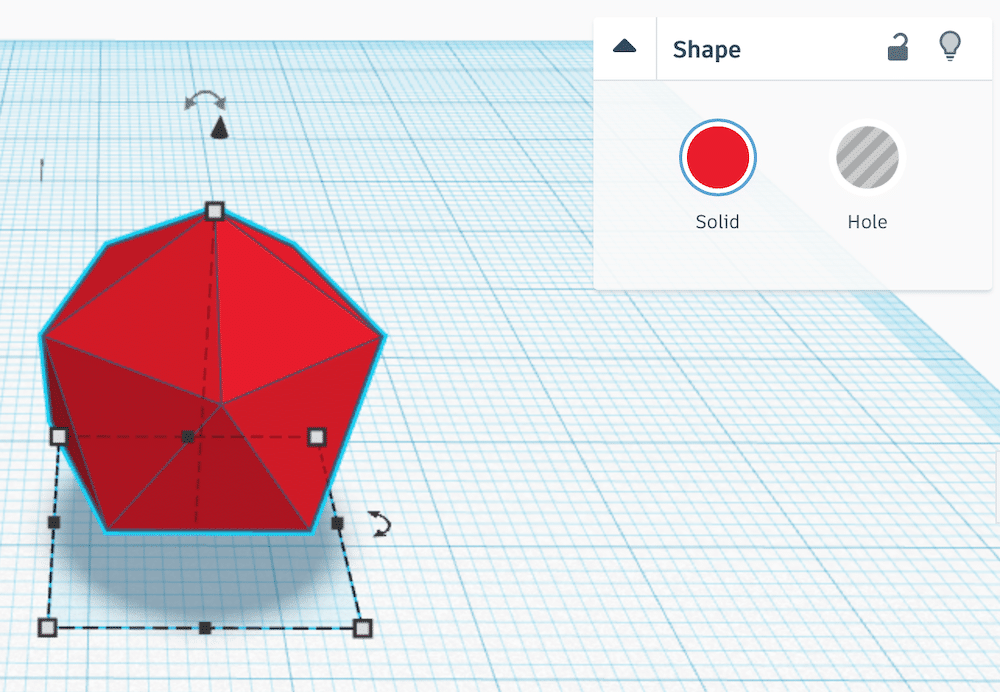
Icosahedron
「Icosahedron」は二十面体のことです。
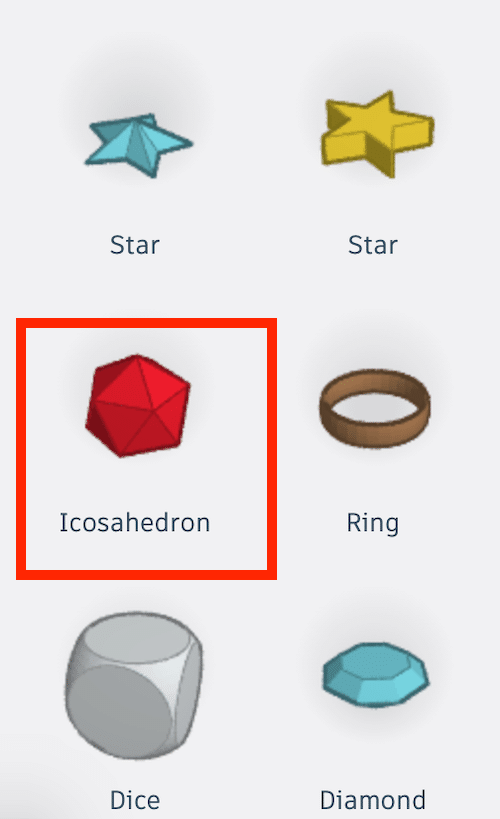
特に設定項目はありません。
Ring
「Ring」は指輪のような形状ですが、他の形状と異なり、デザインの仕方がちょっと特殊です。
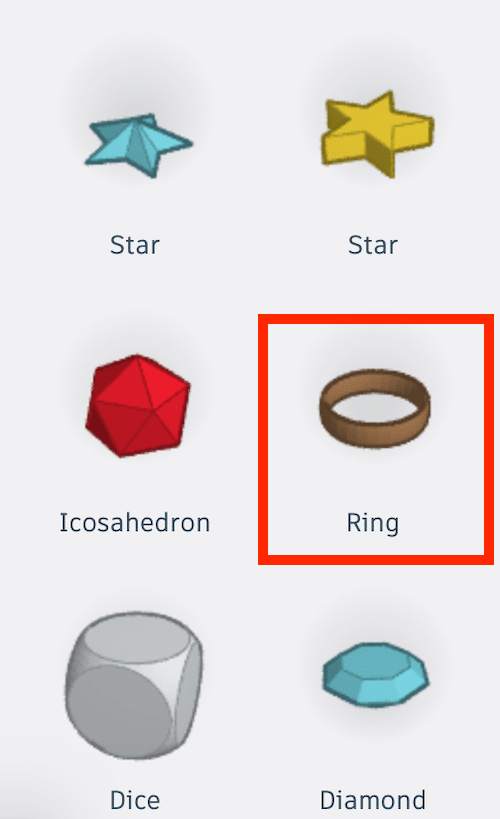
設定項目の一つは「Sides」ですが、もう一つは2次元のマップ状になっています。
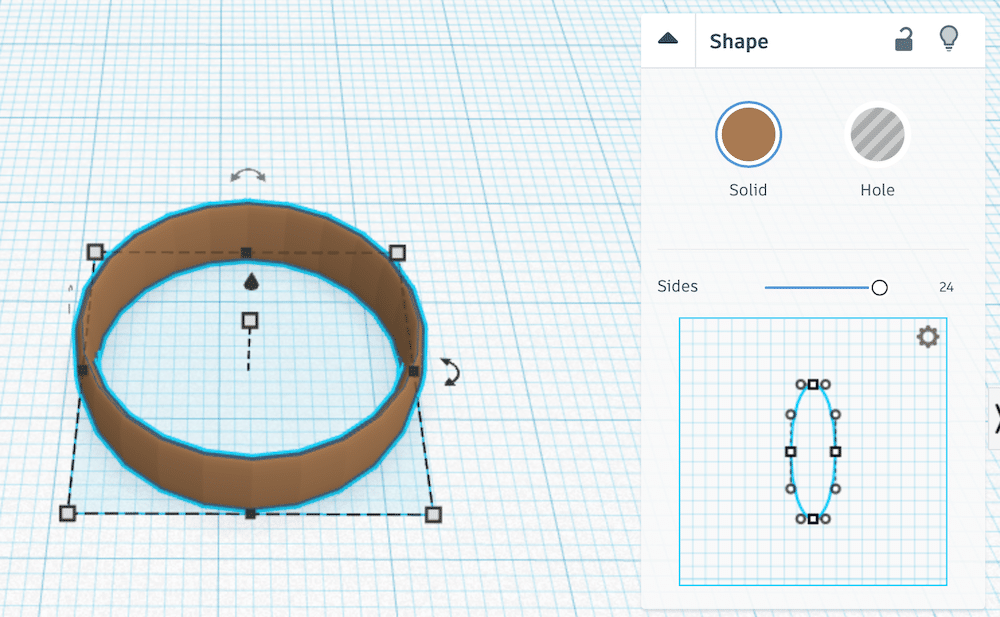
Sides
「Sides」は何回か出てきていますが、円の角数になります。
2次元マップ
「2次元マップ」ではリングの断面の形状を自由にデザインすることができます。
Dice
「Dice」はサイコロのような形状です。

特に設定項目はありません。
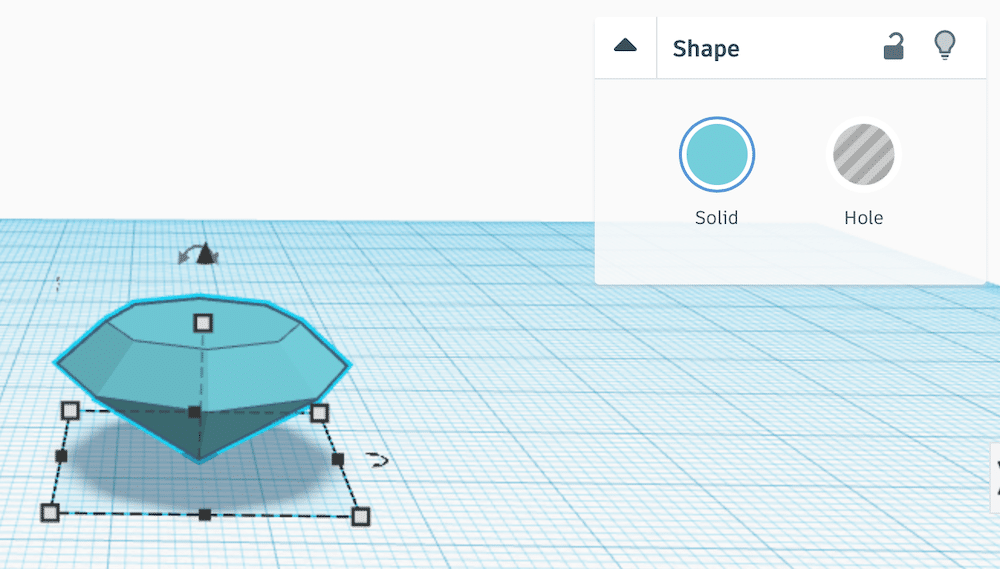
Diamond
「Diamond」はそのままダイヤモンドの形状です。
こちらも特に設定項目はありません。
まとめ
3回に渡って、TinkercadのBasic Shapeを紹介してきました。
新しく自分でデザインしようとなるとここの図形が一番よく使うものだと思います。
また初心者にとって一番とっつきやすい図形達でもあると思います。
ここの図形を色々組み合わせてみて、まずは何となくでもいいので、イメージした形を作り出して行ってみてください。
きっと3Dデザインにハマっていくことでしょう。
とりあえずこれで一旦図形の紹介は終了しますが、また面白い図形があれば紹介することとします。
ということで今回はこんな感じで。
コメント