Pillow(PIL)
前回、Pythonの画像処理ライブラリPillow(PIL)を使って、iPhoneのスクリーンショットをトリミングしました。
今回はさらにプログラムを改変して、トリミングした画像をさらにサイズ変更するようにしていいきます。
今回も前回同様、まずはプログラムをお見せしてから、変更部分の解説をしていきます。
プログラム全体
<セル1>

import os
from PIL import Image

newname = "test_"

mobile_fix_size = [0, 100, 0, 0, 1000, 0] #[left, upper, right, lower, width, height] width&height 0 = keep ratio

default_path =""

mobile_ss_size = [1125, 2436]

ext_list = [".png", ".PNG"]
<セル2>
def path_set(default_path):
if default_path == "":
path_temp = os.getcwd()
else:
path_temp = default_path
return path_temp
def file_select(default_path, newname, ext_list):
list_temp = []
for file in os.listdir(default_path):
if file[-4:] in ext_list:
if not newname in file:
list_temp.append(file)
return list_temp
def trimming(im, fix_size):
width = im.size[0]
height = im.size[1]
im_trim = im.crop((fix_size[0], fix_size[1], width - fix_size[2], height - fix_size[3]))
return im_trim
def resizing(im, fix_size):
width = im.size[0]
height = im.size[1]
resize_width = fix_size[4]
resize_height = fix_size[5]
if resize_width == 0 and resize_height == 0:
print("ERROR: resize_size should not be [0, 0]")
elif resize_height == 0:
resized = im.resize((resize_width, int(height/(width/resize_width))))
elif resize_width == 0:
resized = im.resize((int(width/(height/resize_height)), resize_height))
elif resize_size[0] != 0 and resize_size[1] != 0:
resized = im.resize((resize_width, resize_height))
return resized
<セル3>

if __name__ == '__main__':
    default_path = path_set(default_path)
    file_list = sorted(file_select(default_path, newname, ext_list))

    os.chdir(default_path)

    i = 1
    filling = len(str(len(file_list))) + 1

    for file in file_list:
        im = Image.open(file)
        if im.size[0] == mobile_ss_size[0] and im.size[1] == mobile_ss_size[1]:
            im_trim = trimming(im, mobile_fix_size)
            im_trim_resize = resizing(im_trim, mobile_fix_size)
            im_trim_resize.save(newname + str(i).zfill(filling) + ".png")
        i = i + 1
サイズ変更のための関数
今回まず追加したのはサイズ変更のための関数です。
つまり<セル2>のこの部分。
def resizing(im, fix_size):
    width = im.size[0]
    height = im.size[1]
    resize_width = fix_size[4]
    resize_height = fix_size[5]

    if resize_width == 0 and resize_height == 0:
        print("ERROR: resize_size should not be [0, 0]")
    elif resize_height == 0:
        resized = im.resize((resize_width, int(height/(width/resize_width))))
    elif resize_width == 0:
        resized = im.resize((int(width/(height/resize_height)), resize_height))
    elif resize_size[0] != 0 and resize_size[1] != 0:
        resized = im.resize((resize_width, resize_height))

    return resized
この関数ではpillowで読み込んだ画像imと変更後の画像サイズの定義であるmobile_fix_size(関数ないでは一般化してあるためfix_size)を使います。
まず「im.size[0]」と「im.size[1]」を使って、画像の幅を変数widthに、高さを変数heightに代入しておきます。
またサイズ変更の幅と高さのサイズはmobile_fix_sizeの5番目と6番目の数字として定義してあるためその値をresize_widthとresize_heightに代入しておきます。
resize_widthとresize_heightですが、例えばresize_widthが0なら縦横比をそのままにresize_heightに高さを合わせ、resize_heightが0なら縦横比をそのままにresize_widhtに幅を合わせるようにします。
そのため両方とも0の場合は、エラーを表示するということが必要になります。
また両方とも値が入っている場合は、縦横比を気にせずに幅、高さをそれぞれの値にする。
つまり4つの場合分けが必要になります。
その部分がこちらです。
    if resize_width == 0 and resize_height == 0:
        print("ERROR: resize_size should not be [0, 0]")
    elif resize_height == 0:
        resized = im.resize((resize_width, int(height/(width/resize_width))))
    elif resize_width == 0:
        resized = im.resize((int(width/(height/resize_height)), resize_height))
    elif resize_size[0] != 0 and resize_size[1] != 0:
        resized = im.resize((resize_width, resize_height))
上から両方とも0だった場合、resize_heightが0だった場合、resize_widthが0だった場合、両方とも値が入っていた場合です。
ここでresize_heightが0だった場合、resize_widthが0だった場合に関しては前に作成した「縦横比を変える、変えないどちらにでも対応できるようにする」プログラムを改変して用います。
ちなみに改変したのは変数の名前だけなので、中身に関しては上の記事をご覧ください。
あとは<セル3>でトリミングした後の画像データをこの関数に渡し、さらにサイズ変更をして、サイズ変更をした画像を保存するというように書き換えます。
       im_trim_resize = resizing(im_trim, mobile_fix_size)
            im_trim_resize.save(newname + str(i).zfill(filling) + ".png")
これでトリミングをして、サイズ変更をするプログラムができました。
プログラムの実行結果
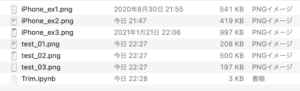
それでは前回使った三つの画像(iPhone_ex1.png、iPhone_ex2.png、iPhone_ex3.png)を新しいプログラムで処理してみましょう。

このままではサイズ変更がうまくいっているか分からないので、サイズを確認してみましょう。
Macの方は画像ファイルをダブルクリックすると「プレビュー」というソフトが起動します。
上のメニューの「ツール」から「インスペクタを表示」をクリックします。
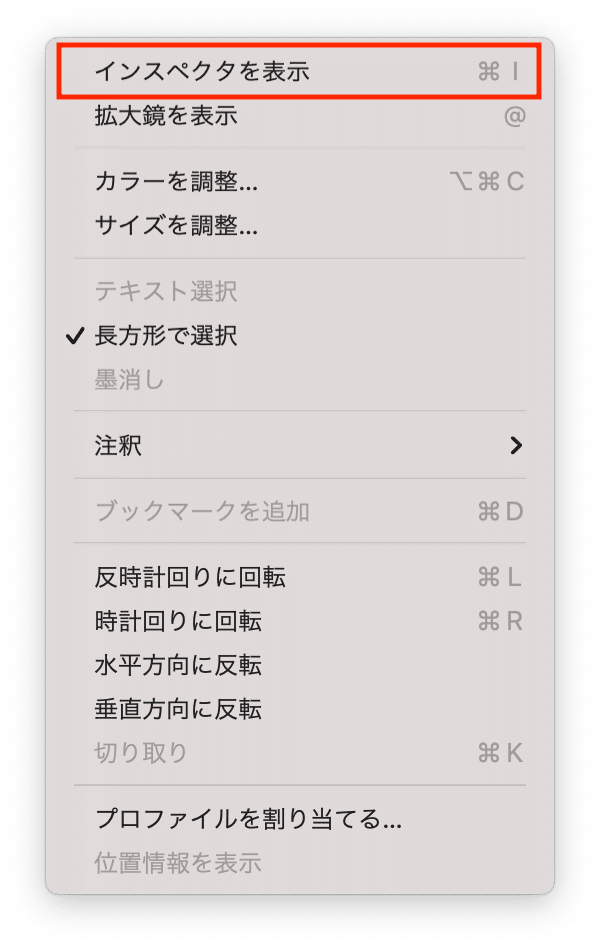
すると画像の情報ウインドウが開きます。
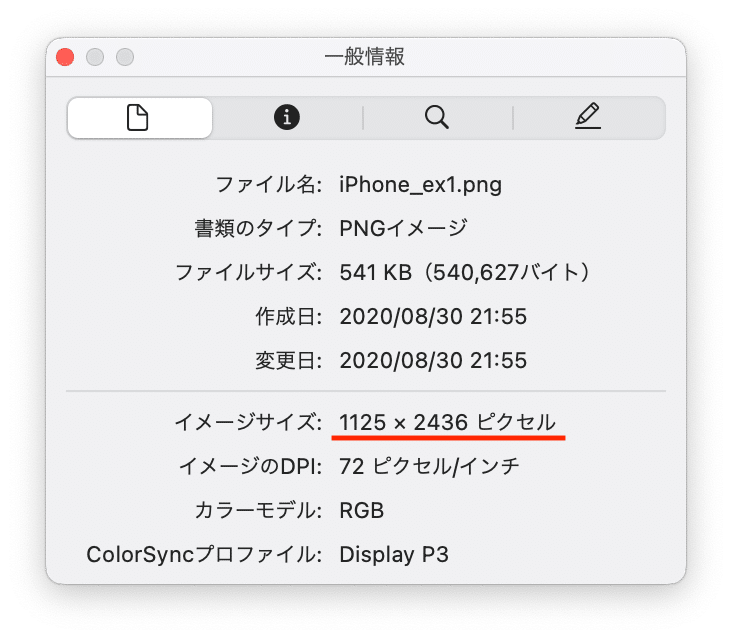
こちらがプログラム実行前の画像の情報。
こちらが前回のプログラムでトリミングしただけの画像の情報。
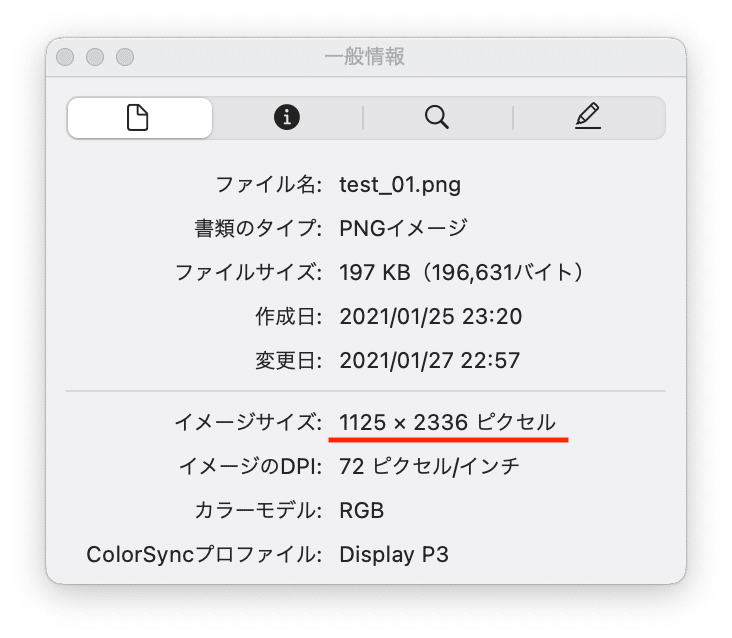
確かに縦の値が2436ピクセルから2336ピクセルと100ピクセル減っているのが分かります。
次に今回のプログラムでサイズ変更した画像の情報。
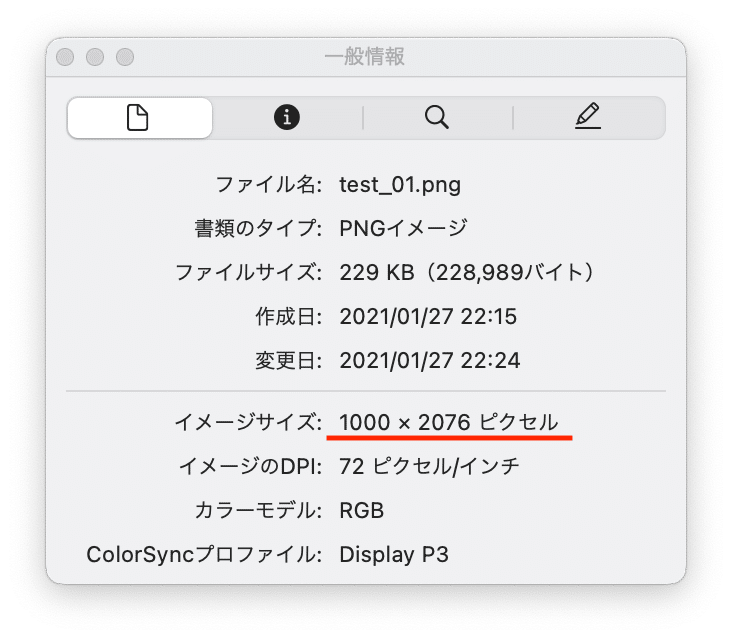
幅が1000ピクセルになり、また縦の値が2076ピクセルになっています。
縦横比を計算してみると前回の画像では2336/1125=2.076444…、今回の画像では2076/1000=2.076とほぼ同じであり、計算途中の小数点が省かれたくらいの違いになっています。
ということでトリミングしてサイズ変更するというところまでプログラムが完成しました。
次回はさらにMacBook AirとiPad miniのスクリーンショットのトリミングとサイズ変更をできるようにしていきましょう。

ではでは今回はこんな感じで。
コメント